-
Notifications
You must be signed in to change notification settings - Fork 123
Modeler _modeler_diagrams_drawing_links
In Modelio diagrams, there are four different ways of drawing links:
-
The orthogonal mode, where a link contains one or more right angles
-
The direct mode, where a link is presented as a straight line
-
The bendpoint mode, where a link is presented in the manner of your choice
-
The rake mode, where a link is presented in rake bar form
All Modelio diagrams include the model expert feature, which provides real-time assistance when you are creating links in diagrams. If you try to create an authorized element (in this example, an association between two classes), the model expert highlights the concerned element in green, indicating that the creation operation you are attempting is allowed. If you try to create an unauthorized link (for example, an association between a package and a class), the model expert highlights the concerned element in red, indicating that the creation operation you are attempting is not allowed.

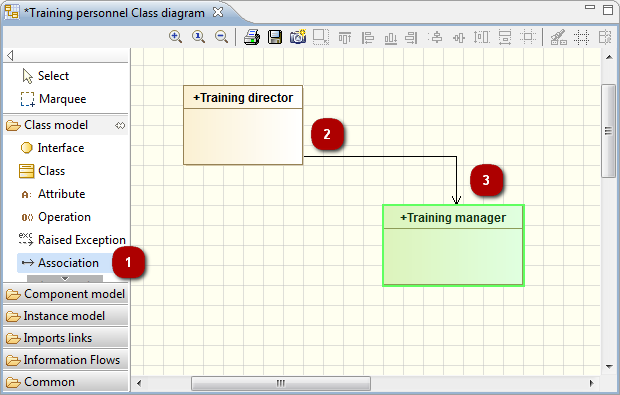
Drawing an association between two classes in orthogonal mode (default mode)
-
Click on the “Create an association” icon in the diagram palette.
-
Click on the origin class.
-
Draw your link, with any desired intermediate points, and then click on the destination class.

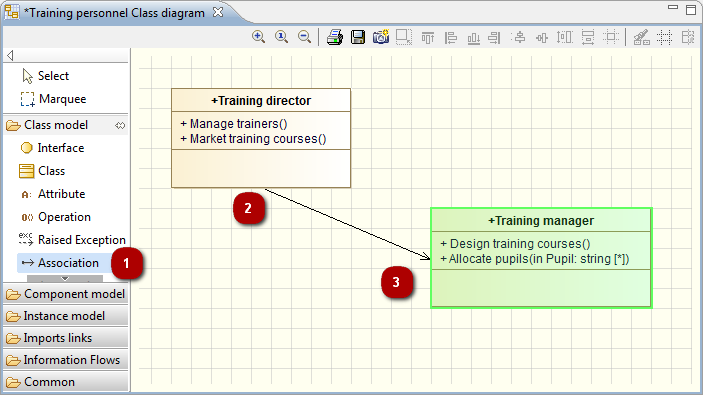
Drawing the same association but this time in bendpoint mode (using Shift)
-
Click on the “Create an association” icon in the diagram palette.
-
Click on the origin class.
-
Draw your link while holding down the Shift key, with any desired intermediate points, and then click on the destination class.
Inheritance links linking more than two elements are automatically presented in rake-bar mode. Links in rake-bar mode can be drawn vertically, horizontally, pointing up or pointing down.
Additional elements can be added to the same rake bar link, simply by clicking on the link itself.

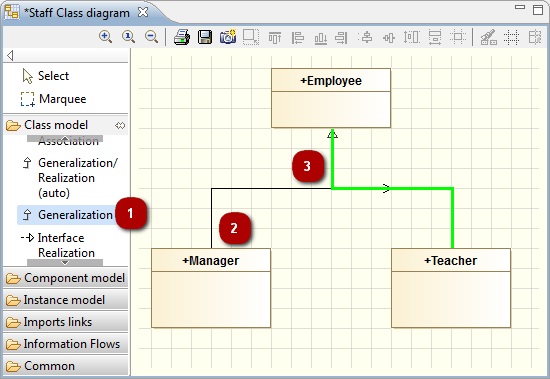
Drawing an inheritance link in rake-bar mode
-
Click on the “Create a Generalization” icon in the diagram palette.
-
Click on the origin class.
-
Draw your link with any desired intermediate points, and then click on the already existing Generalization.
Modelio 3.6 introduces Smart Links, an easy-to-use powerful tool to create links in your diagrams. It can be used in two different ways.
In the diagram palette

Drawing an association between two classes using the Smart links tool command in the diagram palette
Steps:
-
1. Click on the “Smart links” command in the diagram palette
-
2. Click on the origin class
-
3. Click on the target class
-
4. Choose a link type from the list
Using the mouse

Drawing an association between two classes using the Smart links tool
Steps:
-
1. Move your mouse cursor over the origin class and wait for one second
-
2. When the Smart links handle
 appears, click on it and hold down your mouse button
 -
3. Move your cursor over to the target class, as if to drag&drop the link’s end onto it
-
4. Release the mouse button, then choose a link type from the list
Note: If you dont’t want to display the Smart links handles (green arrows), you can deactivate them in the Symbol view of the diagram:
