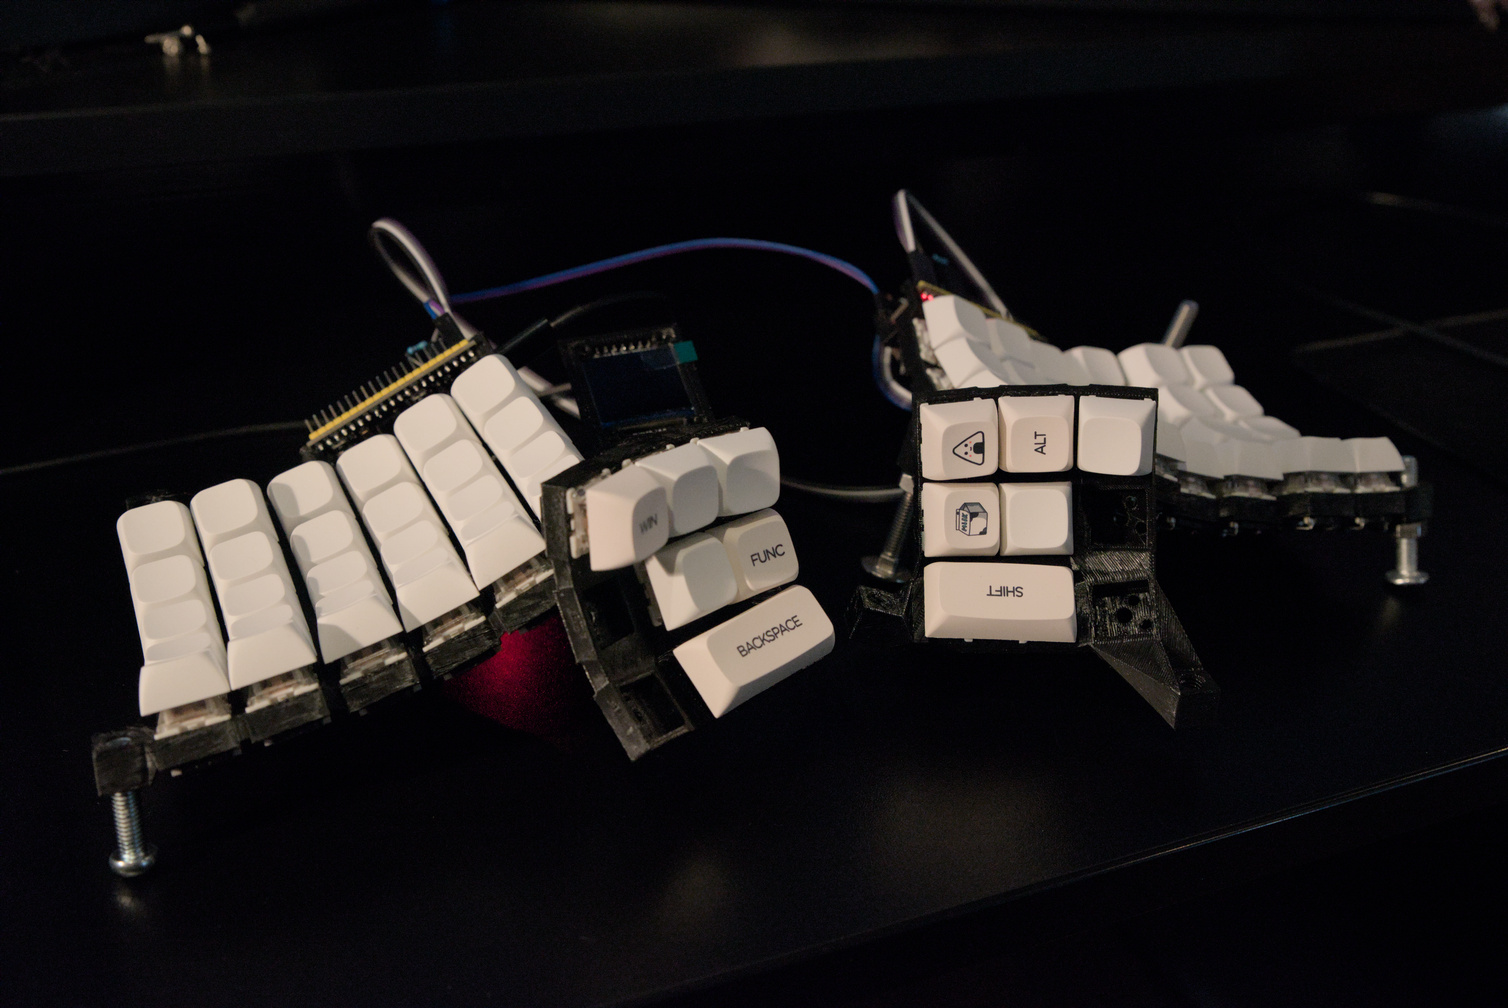
The Dactyl Lynx is a parameterized, split-hand, concave, columnar, ergonomic keyboard.
This is my fork/rewrite of the original Dactyl. I've changed a few things:
- Rewrote the generating code in Python instead of Clojure, using SolidPython2 and spkb.
- Rotated thumb clusters to be close to vertical (inspired by the Dactyl-ManuForm and the way my thumbs move; see also Viktor Eikman's DMOTE and Concertina keyboards)
- Steeper tenting angle
- 1U or 2U keycaps - easy to source (look for ortholinear keycap sets, or possibly Ergodox sets with a few extra keycaps)
- Added a magnetically-attached back cover, with different variants (plain, or with feet)
- Modified keyswitch holes to support Kailh hot-swap sockets
- Added a TrackPoint module between the
D,H,B, andMkeys (H,J,N, andMon QWERTY) - Added support for my single-keyswitch hot-swap PCBs
- Created a new RMK-based firmware project (RMK is a keyboard firmware system written in Rust, with Vial support)
- Adding mouse buttons and a scroll ball from an Apple Mighty Mouse next to the right-hand thumb cluster
- Adding a thumbstick to the left side
- Mounting the left thumb cluster on a hinge so it swings out of the way to access the thumbstick; when swung out of the way, it can trigger a microswitch to change to the gaming layout
- Multiple user-defined key maps that can be uploaded via USB and easily toggled between on the fly (I want this to replace my Orbweaver) - Maybe use Vial. (
though Vial has a limitation of 4 layers- it turns out you can force Vial to support more layers! It's still relatively limited, though) - Adding support for ALPS or Choc switches instead of MX-style switches, along with appropriate hot-swap sockets (this will be mostly implemented in spkb first)
pipenv installpipenv run python dactyl_lynx_keyboard/dactyl_lynx.pyTo view the available options:
pipenv run python dactyl_lynx_keyboard/dactyl_lynx.py --helpPregenerated STL files are available in the things/ directory.
- 2x microcontrollers - one of the following (see QMK docs for what combinations make sense)
- 2x 4+-conductor jacks and matching cable to connect the two sides using full-duplex serial; one of:
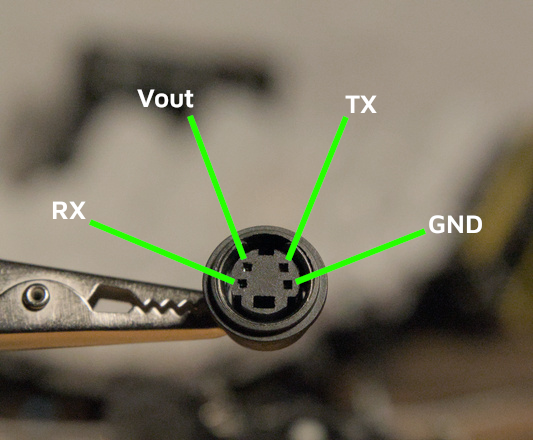
- 4-pin mini-DIN (A.K.A. S-Video) - recommended; if accidentally tugged on, it will cleanly disconnect without shorting anything and without pulling the other side of your keyboard off the desk
- 4P4C, 6P4C, or similar modular connector (A.K.A. RJ11 or telephone plug)
- TRRS audio jacks - not recommended; if you use this, be careful to not connect or disconnect the cable while the board is powered on!
- any other 4-pin (or more) connector, though be wary of things like USB connectors that would be easy to mistake for other buses
- 74x MX-style key switches (or maybe Alps-style; I haven't actually checked if that will still work correctly)
- 74x signal diodes (1N4148 or similar works well)
- 74x Kailh hot-swap sockets (optional - you can pass
socket_shape=mx_plateto theKeyboardAssemblyconstructor indactyl_lynx_keyboard/dactyl_lynx.pyif you want to solder directly to the switches, or passsocket_shape=mx_plate_with_board_mountto use either my MX single keyswitch hot swap board or my Choc single keyswitch hot swap board; eventually these will be a command-line option) - A set of 74+ keycaps - symmetric unsculpted profiles work best with the sculpted form factor of Dactyl-style boards
- 72x 1u keycaps
- 2x 2u keycaps
- 24x 5mm x 3mm cylindrical magnets, plus an additional 12 for each set of different bottom cases you want
- A USB-C (or USB Micro-B, depending on your microcontroller) cable to plug in your keyboard
- connection wires (and ideally some Dupont-style connectors for the microcontroller side of things, so you can swap the microcontroller if/when needed)
This is by no means a comprehensive guide to wiring a keyboard, but here's the approach I chose when building my first Dactyl Lynx:
-
use COL2ROW diode orientation
-
solder diode leads together for the rows
-
use insulated hookup wire for the columns
-
connect each column and row of a side to a different color of wire: (aside from some repetition because I ran out of colors)
Position Left Side Right Side Pin Column 0 brown brown 2 Column 1 red black 3 Column 2 orange white 4 Column 3 yellow grey 5 Column 4 green purple 6 Column 5 blue blue 7 Row 0 red brown 8 Row 1 orange red 9 Row 2 yellow orange 10 Row 3 green yellow 11 Row 4 blue green 12 Row 5 (thumb) purple green 13 Row 6 (thumb) grey yellow 14 Note: the right side's color scheme should probably not be used; it's definitely more haphazard because it was done ad-hoc. Note 2: the top columns cable on the left side finger well is wired in reverse; brown goes to column 5 instead of column 0, and so is on pin 7 instead of 2. The cable connecting to the thumb well is correctly wired, so the colors switch at the column connections.
Wire according to the key matrix in my whitelynx/dactyl_lynx QMK branch.
I've set up two separate firmwares that can be run on this board. The QMK-based variant is more featureful, but I'm devoting more time to the RMK-based one now.
See the dactyl-lynx-rmk repo for this firmware. It's based on RMK. (with Vial support, written in Rust)
See the corresponding firmware in my whitelynx/dactyl_lynx QMK branch for instructions on building and flashing the firmware.
Copyright © 2015-2024 Matthew Adereth and David H. Bronke
The source code for generating the models (everything excluding the things/ and resources/ directories) is distributed under the GNU AFFERO GENERAL PUBLIC LICENSE Version 3. The generated models and PCB designs are distributed under the Creative Commons Attribution-ShareAlike License Version 4.0.


