by Olle Holmberg / [email protected]
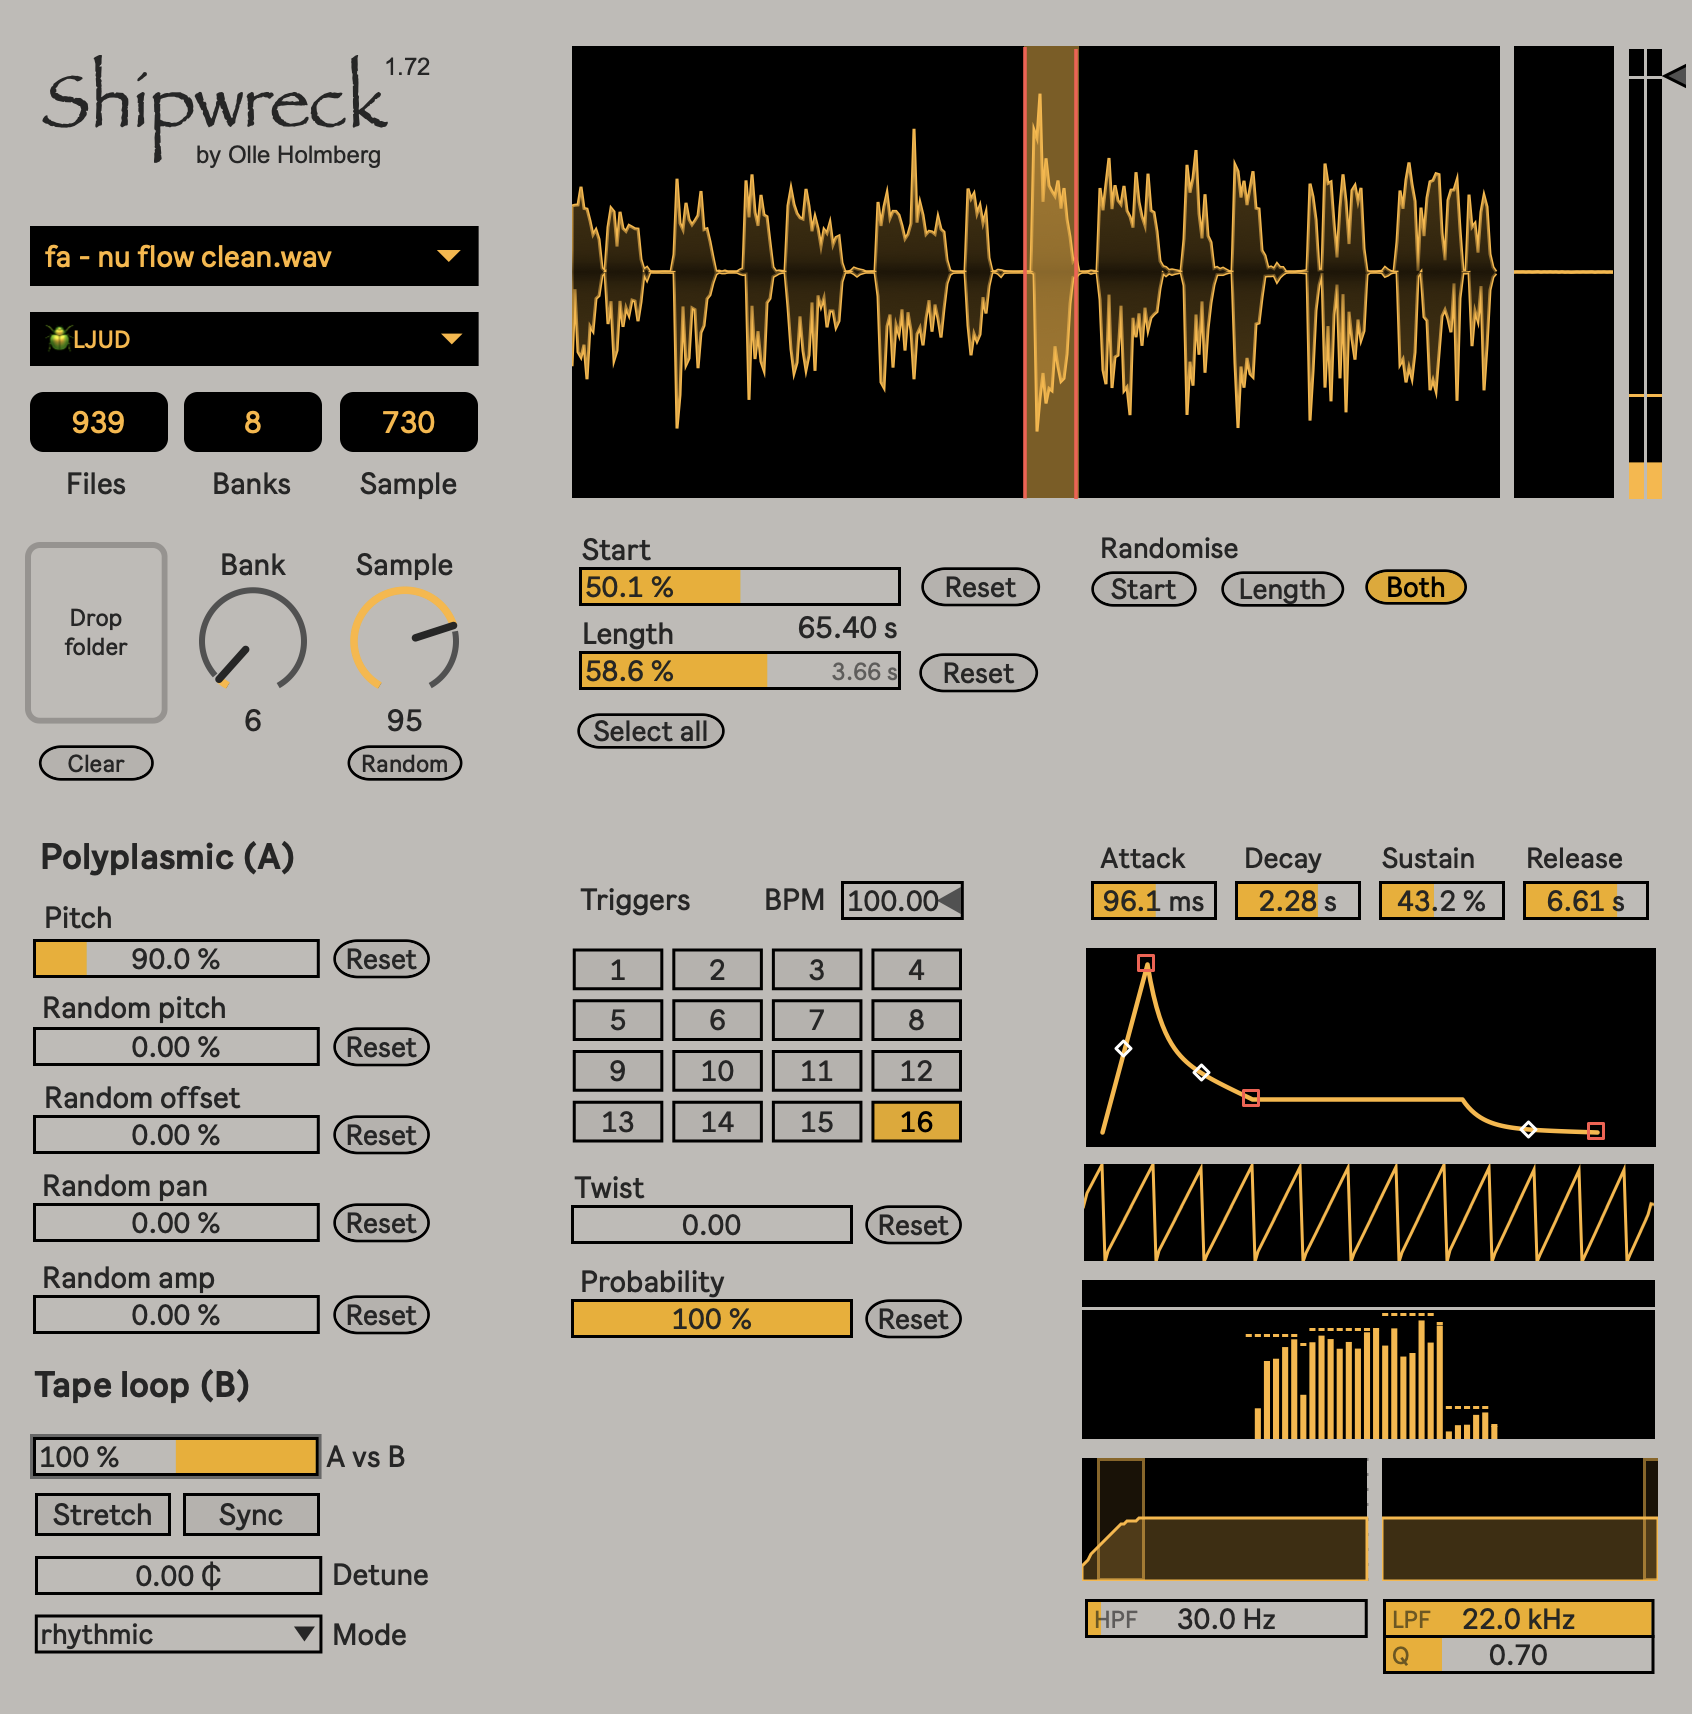
A sampler instrument for Max for Live to help you dive deep into the ocean of your failures, to explore the shipwreck of your praxis. Load thousands of samples into one device and select them with just two knobs.
You probably need Ableton Live 10 or 11 for this. Something with Max 8 under the hood. It uses Node.js behind the scenes. Max should take care of that, I think. Otherwise download and install it.
You need file_handler.js, filewalker.js and the node_modules folder for it to work. Put the whole containing folder Shipwreck in your Ableton user library.
Drop a folder in the zone of the device to recursively load all samples inside it. It's set to go 7 levels deep in sub-folders. This can be changed in file_handler.js under the variable depth.
Don't be afraid. I have thrown 80 Gb folders into it. Sound files long or short don't matter. It loads WAV and AIF/AIFF by default. You can change the file_walker.js file to also include MP3, FLAC, M4A, etc, but these don't load as quickly.
You'll be able to select the first 128 x 128 = 16,384 samples with the first two MIDI CC's. Consider that you can map, automate or sequence these.
In the UI, the first two number boxes, Banks and Files, are just to show you how much is available to select.
If you load a folder with 256 samples, that will be two banks, Bank 1 and 2, with 128 samples in each. 1,000 samples would make 7 banks.
Start and End are rotaries so that you can map or control them. You can also make a selection by clicking and dragging in the sample view box. If you use the sample box it makes a selection at sample zero-crosspoints, which reduces clicks and pops. If you use Start and End, for now, they aren't that smart.
Pitch speeds up or slows down the sample playback. This is best to use when not in time-stretch mode.
The three buttons next to the sample name and menu, are: Randomise sample, Randomise selection, Select all.
Play plays the sample and loops the selection while Loop is on.
Grid enables a grid in the sample window so you can select according to quarter notes over the sample. BPM and Offset are used to set the width of the grid and to align it to a sample. This is merely for ease of selecting by clicking in the sample viewer.
In the Timestretch & Filter section, if you enable On it will stretch to the tempo of your DAW. Set the File BPM to tell the sampler what the original tempo of the file is. This is necessary for the time sync to work properly. Can also be misused for fun of course.
Enable Stretch to use Detune. You can pitch it up and down an octave.
The menu has different kinds of time stretching algorithms. These are fun to misuse, like they did with jungle music in the 90s. File BPM helps the sampler know how long the original sample was so that it stretches accordingly. Often you can find the right tempo by seeing when the 1.0.0 bar counter ends up on a round number with two 0's.
The filter is a basic LP and HP on the stereo out at the final stage.
Folders contains a list of previous folders you've dropped, for easy recall to go back. You can also clear it.
In the MIDI section, if you enable On, incoming MIDI notes will trigger the envelope below. The sampler has 64 voice polyphony. It can be used as a bit of a granular synth in a way. All the currently playing notes will keep playing as from the start/end points they were triggered from, while you can make a new sample selection for the subsequent voices.
Loop will loop the selection, but only really have an effect on short files, generally (short selections). It concerns what happens if the note is longer than the selection. If it is, the selection will loop. Loop interpolation lets you crossfade the loop a bit.
Gain lets you boost the signal here. Since we're automixing 64 voices here, it can be a bit quiet otherwise. The gain is related to the boost on a limiter with a 0 db ceiling, on the stereo sum of the 64 channels.
The ADSR controls the envelope of the sounds triggered by MIDI.
Note to startpoint will use the pitch of the incoming notes to set the startpoint of the sample with each note. Notes 0-127 are mapped to 0-90% of the sample.
Pitch spread sets a range for randomising the pitch of each successive voice when using the MIDI mode. To be annoying I've put high pitch on the left side and low on the right. You're welcome.
Pan spread is the same, but a stereo effect.
Voice allocation lets you see which of the 64 voices are in used, and helps understand at what point new voices start choking off old voices.
I don't know how well the sampler will remember its files, folders, settings and options if you save and then reopen a project. I use an audio Resample track in Live to capture my jams.
Enjoy!
© 2023
