The pull-to-refresh pattern lets a user pull down on a list of data using touch in order to retrieve more data. The "Pull-to-refresh" gesture was first introduced by Loren Brichter in the Tweetie app and in no time it became so popular that countless apps adopted this gesture. Today "pull-to-refresh" feature is a natural part of many popular apps, including Twitter, Gmail, Tweetbot and others.
In this tutorial, you'll build a mobile app featuring a PullToRefresh gesture using the Flutter SDK. Your app will:
- Display a dynamic list with a random number of items
- Each time you PullToRefresh the no of items will change in the list
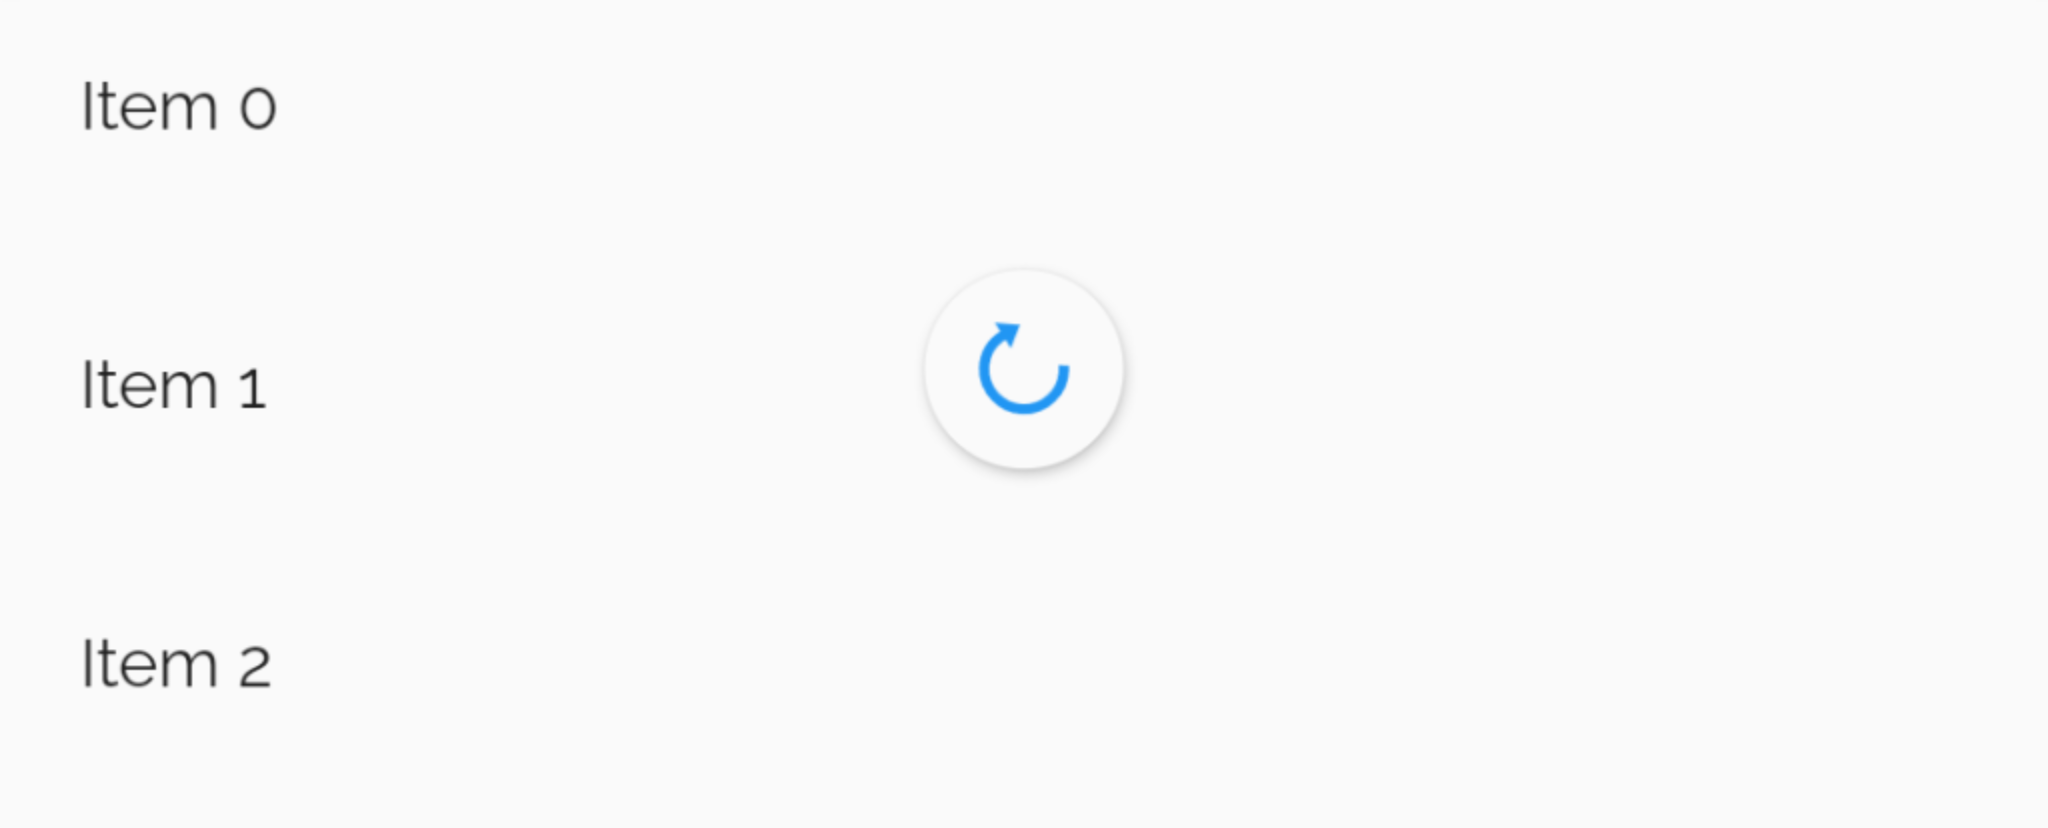
That's how our PullToRefresh gonna work
This tutorial focuses on adding a PullToRefresh gesture to a Flutter app. Non-relevant concepts and code blocks are glossed over and are provided for you to simply copy and paste.
The detailed steps to install Flutter on your personal computer & getting started with Flutter is available at the following blog
How to install Flutter on Mac & Windows
The basic format of PullToRefresh gesture looks like the one below:
const RefreshIndicator({
      Key key,
      @required Widget child,
      double displacement: 40.0,
      @required RefreshCallback onRefresh,
      Color color,
      Color backgroundColor,
      ScrollNotificationPredicate
          notificationPredicate: defaultScrollNotificationPredicate,
      String semanticsLabel,
      String semanticsValue
})The most generic way to implement PullToRefresh is as follows:
const RefreshIndicator({
  Key key,
  @required this.child,
  this.displacement = 40.0,
  @required this.onRefresh,
  this.color,
  this.backgroundColor,
  this.notificationPredicate = defaultScrollNotificationPredicate,
  this.semanticsLabel,
  this.semanticsValue,
}) : assert(child != null),
     assert(onRefresh != null),
     assert(notificationPredicate != null),
super(key: key);Import dart:async & dart:math libraries to your main.dart file by adding the following line at the starting of the file:
import 'dart:async';
import 'dart:math';Amend your main.dart file as per the following code:
import 'dart:async';
import 'dart:math';
import 'package:flutter/material.dart';

void main() => runApp(PullToRefresh());

class PullToRefresh extends StatelessWidget {
  @override
  Widget build(BuildContext context) {
    return MaterialApp(
      debugShowCheckedModeBanner: false,
      title: 'Pull To Refresh',
      home: HomePage(),
    );
  }
}

class HomePage extends StatefulWidget {
  @override
  _HomePageState createState() => _HomePageState();
}

class _HomePageState extends State<HomePage> {
  var list;
  var random;

  var refreshKey = GlobalKey<RefreshIndicatorState>();

  @override
  void initState() {
    list = List.generate(3, (i) => "Item $i");
    super.initState();
    random = Random();
    refreshList();
  }

  Future<Null> refreshList() async {
    refreshKey.currentState?.show(atTop: false);
    await Future.delayed(Duration(seconds: 2));

    setState(() {
      list = List.generate(random.nextInt(10), (i) => "Item $i");
    });

    return null;
  }

  @override
  Widget build(BuildContext context) {
    return Scaffold(
      appBar: AppBar(
        title: Text("Pull to refresh"),
      ),
      body: RefreshIndicator(
        key: refreshKey,
        child: ListView.builder(
          itemCount: list?.length,
          itemBuilder: (context, i) => ListTile(
            title: Text(list[i]),
          ),
        ),
        onRefresh: refreshList,
      ),
    );
  }
}- Connect your Emulator or physical Android device to test the application.
- Click on Build & Run.
- And Boooom 💥, your app is ready.
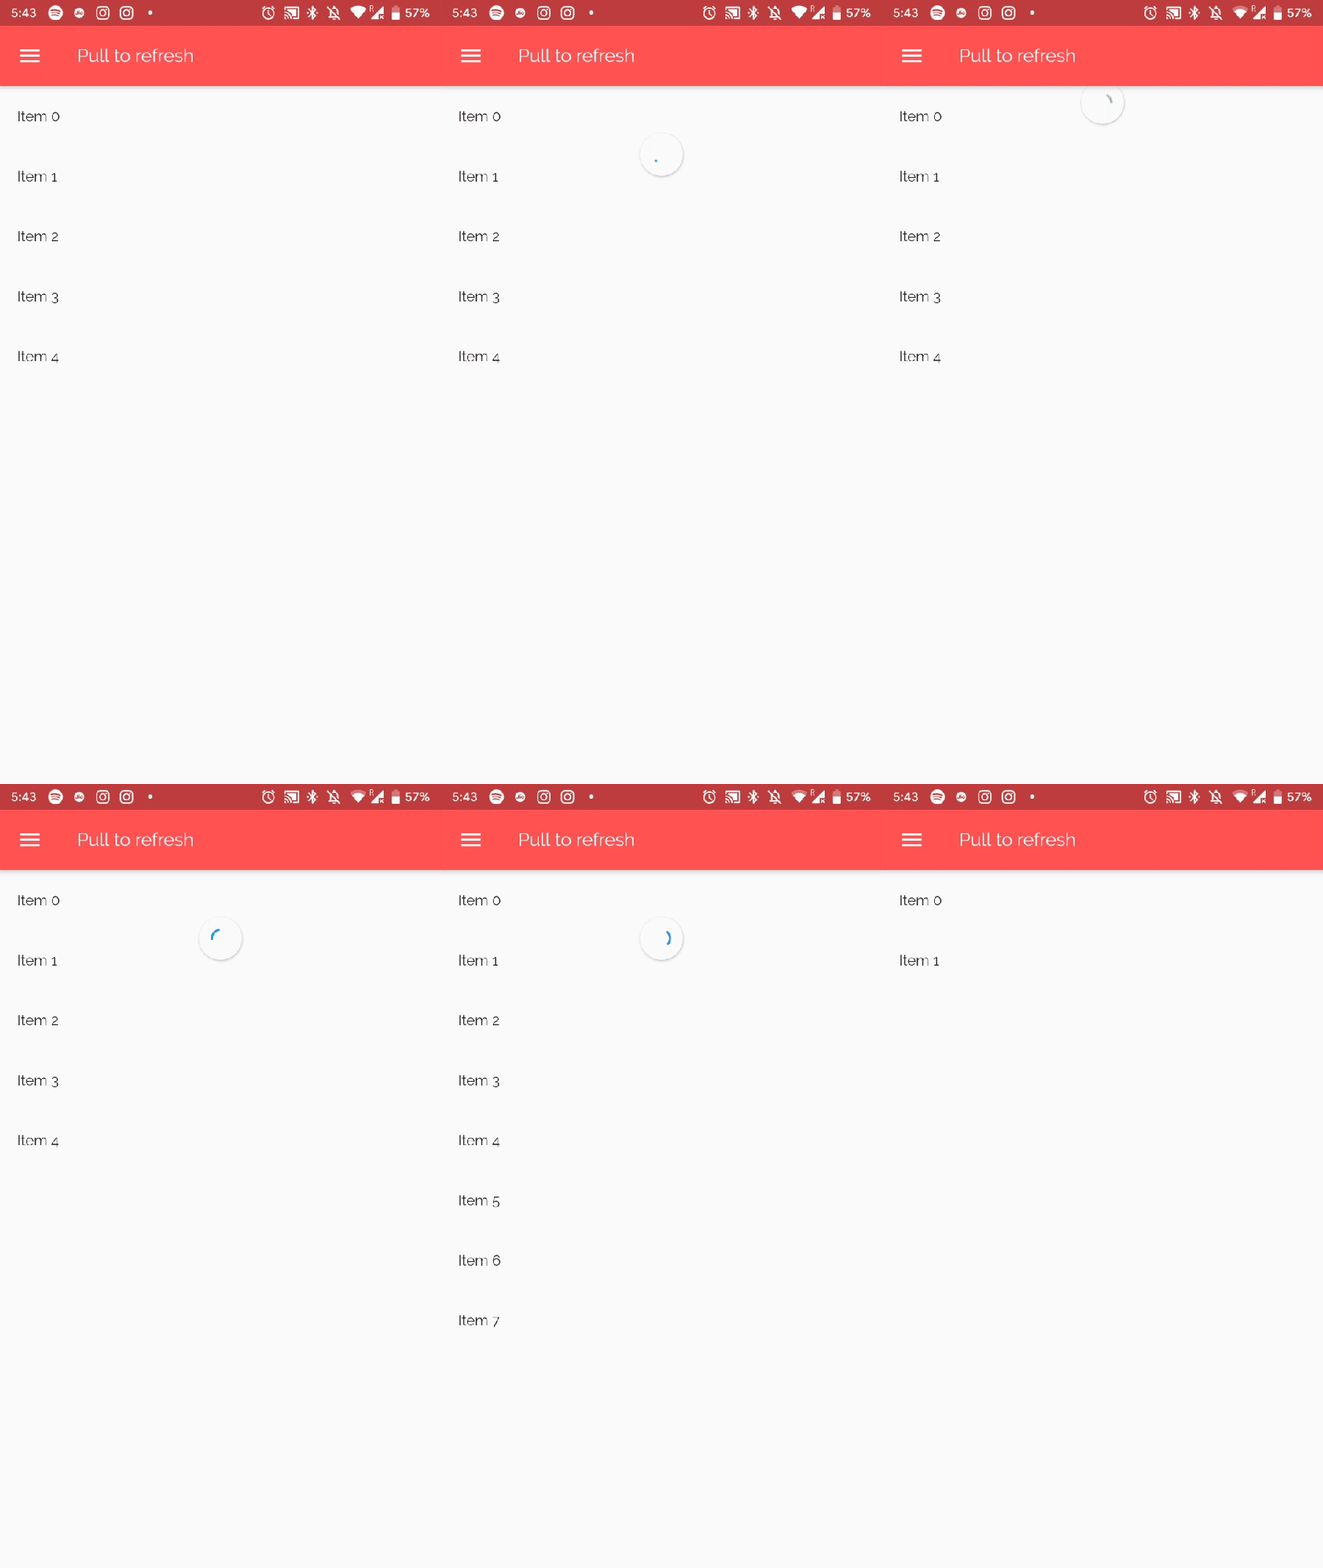
The final build would look like the below illustration.
The final output of the implementation
If you got any queries or found a bug, open an Issue or ping me over on [email protected]
Licensed under the MIT License.
Thanks to all contributors and to sponsors for supporting the project.


