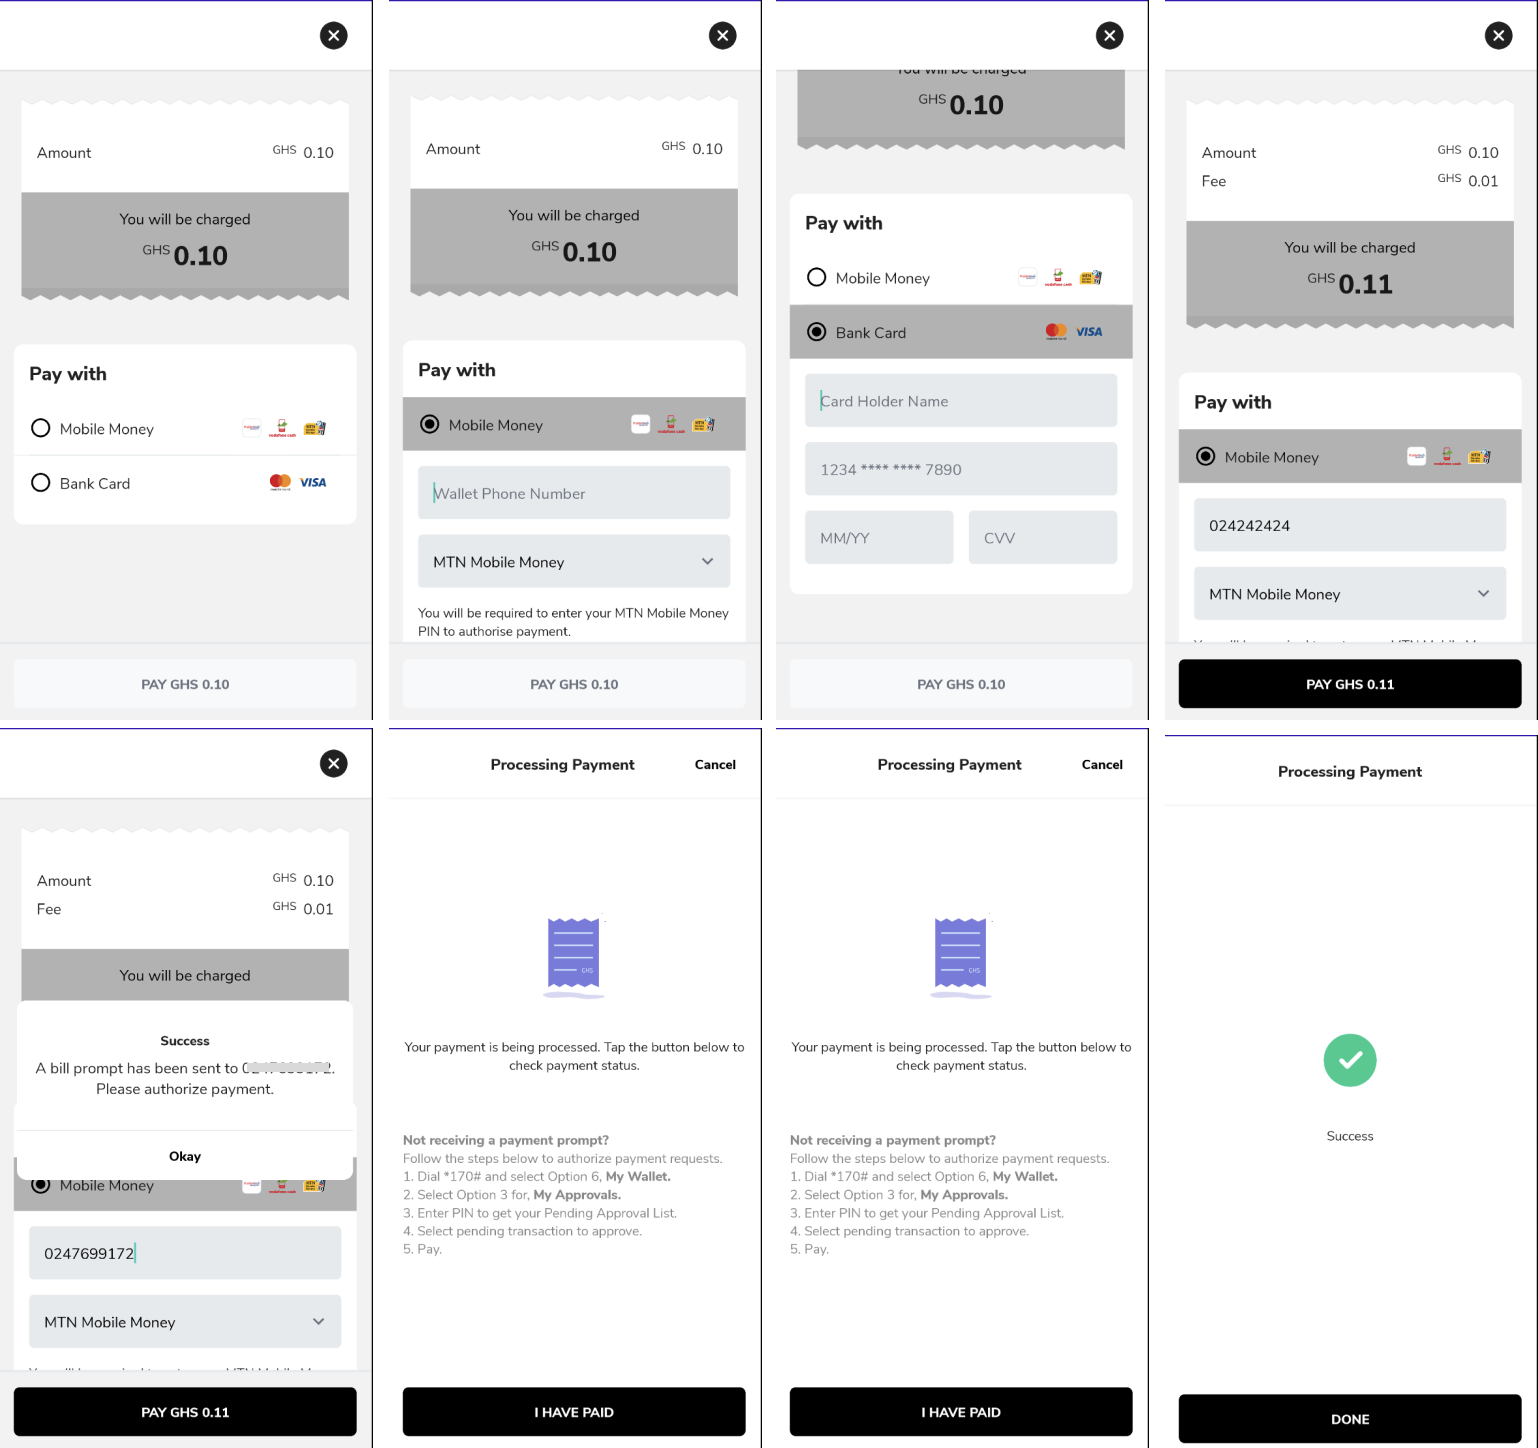
The Hubtel Checkout Library is a convenient and easy-to-use library that simplifies the process of implementing a checkout flow in your Android application.
It provides a set of classes and methods to help you create and manage a checkout intent, handle the checkout result, and retrieve important information about the transaction.
The Hubtel Checkout library is available on Maven Central. To integrate it in your Android project, follow these steps:
- Open your project in Android Studio.
- Go to the
build.gradlefile of your app module. - Add the following line:
implementation "com.hubtel:merchant-checkout-sdk:1.0.1" to the dependencies block:
dependencies {
	implementation "com.hubtel:merchant-checkout-sdk:1.0.1"
}- Sync your project to download the library and make it available for use in your project.
- Create an
intentwith theCheckoutIntent.Builder.
Here's a quick explanation of the parameters used in the CheckoutIntent.Builder:
| Properties | Explanation |
|---|---|
| context | The Context object representing the current context of the application. |
| amount (required) | The amount of the transaction. |
| callbackUrl (required) | The callback URL to which the payment result will be sent (on your backend server). |
| description (required) | A description or details about the transaction. |
| ApiKey (required) | Base64 encoded string of the customer’s id and password. Also passed to the configuration object. |
| merchantId (required) | The unique identifier of the merchant initiating the transaction. |
| clientReference (required) | A unique reference string for the transaction generated by the client (required). |
| customerPhoneNumber (required) | The phone number of the customer initiating the transaction (required). |
Make sure to provide appropriate values for these parameters based on your specific use case and requirements.
To initiate a checkout process, you need to create a checkout intent using the CheckoutIntent.Builder class. This builder allows you to set various parameters related to the checkout, such as the amount, description, merchant ID, customer information, and more. Here's an example of creating a checkout intent:
val intent = CheckoutIntent.Builder(this)
	.setAmount(0.1)
	.setApiKey("T0UwajAzcjo5ZjAxMzhkOTk5ZmM0ODMxYjc3MWFhMzEzYTNjMThhNA==")
	.setCallbackUrl("https://cd81-154-47-25-8.ngrok-free.app/payment-callback")
	.setDescription("Rice with Coleslaw")
	.setMerchantId("11684")
	.setClientReference(UUID.randomUUID().toString())
	.setCustomerPhoneNumber("233541234567")
	.setTheme(themeConfig)
	.build()
Be sure to replace the parameter values with your own data.
To handle the result of the checkout process, you need to override the onActivityResult method in your activity or fragment. In this method, you can check if the request code matches the checkout request code and if the result code is RESULT_OK. If both conditions are met, you can retrieve the checkout status using the CheckoutStatus.CHECKOUT_RESULT extra key. Here's an example:
override fun onActivityResult(requestCode: Int, resultCode: Int, data: Intent?) {
  super.onActivityResult(requestCode, resultCode, data)
  if (requestCode == CHECKOUT_REQUEST_CODE && resultCode == RESULT_OK) {
      val status = intent?.getParcelableExtra<CheckoutStatus?>(CheckoutStatus.CHECKOUT_RESULT) // Handle the checkout status
  }
}
Replace CHECKOUT_REQUEST_CODE with the actual request code used when starting the checkout process.
