-
Notifications
You must be signed in to change notification settings - Fork 68
MTP 3 Release Notes
October 24, 2016
This page describes the contents of MTP #3, including a description of the capabilities, installation instructions, instructions for running the software, test sequences and results, and system documentation.
- Features included in the previous release are described at: MTP 2
This MTP (Minimum Testable Product) is released for testing of specific functionality. This is not a fully functional product and is not suitable for production use. This MTP provides user interfaces for SWMM and EPANET. Using the software, a user may open an existing SWMM or EPANET project, edit options/settings, save the project file, run the simulation, and analyze model results. In addition, the user may create plug-ins which provide additional functionality and interact with the project settings and outputs.
The following new capabilities are included in this release:
- Map display of visual objects
- Selection of objects on map synchronized with selection in tree and list
- Control-click or Shift-click to select additional objects of the same type
- Selected objects can be moved with a mouse drag
- Objects can be added to the map by activating the appropriate add tool, then clicking the map to place one or more objects.
- When adding a link, first click the upstream node, then click for any intermediate vertices, then click the downstream node to finish.
- When adding a SWMM subcatchment, left click to add each vertex, then right click to finish.
- Moving, adding, and deleting objects can be undone using Edit/Undo (Ctrl-Z)
- GIS functionalities:
- Import/Export, allowing the import of GIS data from a GIS file into the model data structure and export from the model data structure into a GIS file.
- Rendering, providing map displays with options for rendering features by color, line style, thickness, etc. for rendering model results on the map.
- Interactions, including pan, zoom in, zoom out, draw at full extent, and set reference coordinates and distance units.
- Print Map (currently prints to graphics file only)
- Map Bounds Editing: The UIs will provide a means for editing the X and Y coordinates of the map’s bounding rectangle as well as distance units.
- Subcatchment Polygon Editing, allowing adding, removing and editing the X and Y coordinates for each vertex of the subcatchment polygons. (Applies to SWMM UI only as subcatchments are not applicable to EPANET).
- Node coordinate editing
- Map labeling, providing a means for adding, removing and editing the X and Y coordinates and text of map labels.
- Map backdrop setting: add a GIS layer by dragging a file (e.g. Shapefile, GeoJSON) onto the map
- Edit all project sections of both models
- Reports and graphs for SWMM output:
- Profile Plot (from Bryant McDonnell)
- Comprehensive Statistics Report
- Reports and graphs for EPANET output:
- Calibration Report, including both importing of calibration data and statistical comparison to simulated results
- Support of internationization
- Documented instructions for [Getting Started as a Developer] (https://github.com/USEPA/SWMM-EPANET_User_Interface/wiki/Getting-Started-as-a-Developer)
- Several suggested improvements from previous MTP:
- Refactoring of data model code to separate reading and writing of input files
Windows (64-bit) installation packages for SWMM and EPANET can be obtained from the following links: https://github.com/USEPA/SWMM-EPANET_User_Interface/releases/download/MTP3/EPANET-UI-MTP3r2.exe https://github.com/USEPA/SWMM-EPANET_User_Interface/releases/download/MTP3/SWMM-UI-MTP3r1.exe
Run EPANET-UI_MTP3r2.exe to install EPANET or run SWMM-UI-MTP3r1.exe to install SWMM.
To run SWMM:
From the desktop shortcut or from the start menu, double-click on SWMM-UI.
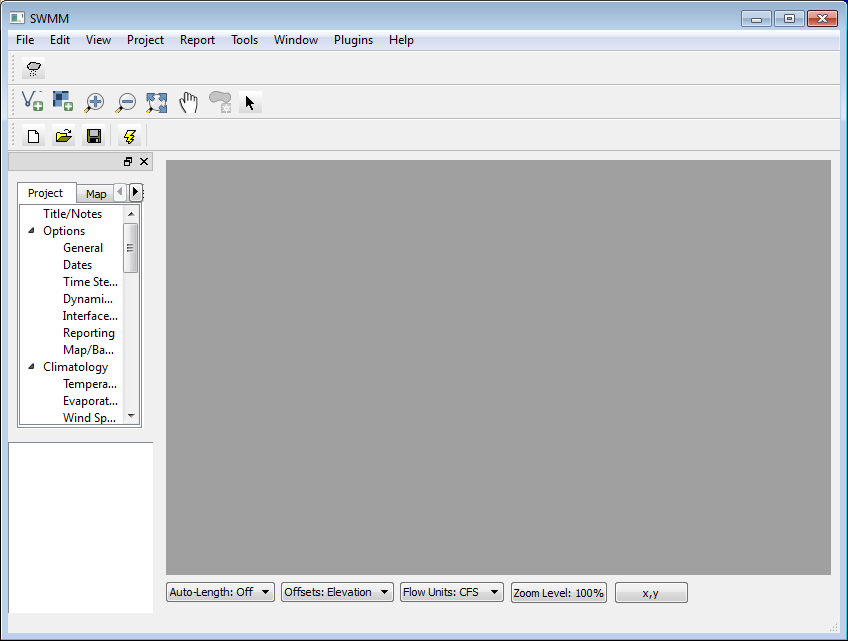
The following window will appear:
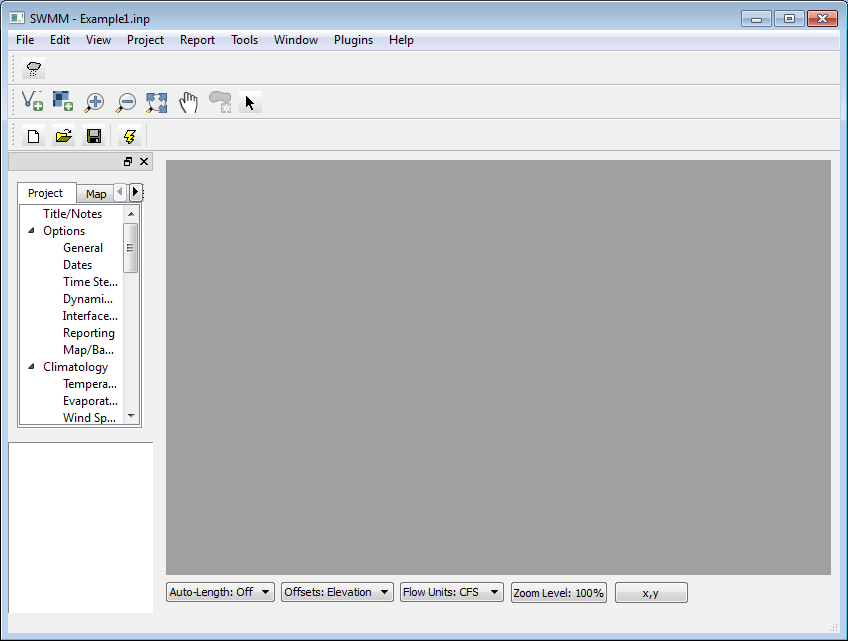
From the 'File' menu, choose 'Open'. You will be prompted to open a SWMM input (.inp) file.
With a SWMM input file open, many project sections displayed in the tree diagram are available for viewing and editing. Items that are functional will either open an editing dialog when double-clicked or will populate the list in the lower-left corner.
After the desired edits are complete, the project can be saved using the 'File:Save' menu item.
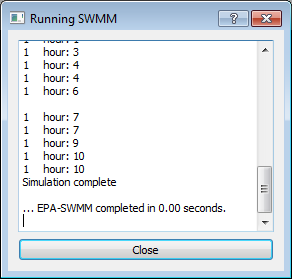
The simulation can be run by clicking the lightening bolt icon or through the 'Project:Run Simulation' menu item.
The 'Plugins' menu is used for accessing scripting and plug-in options.
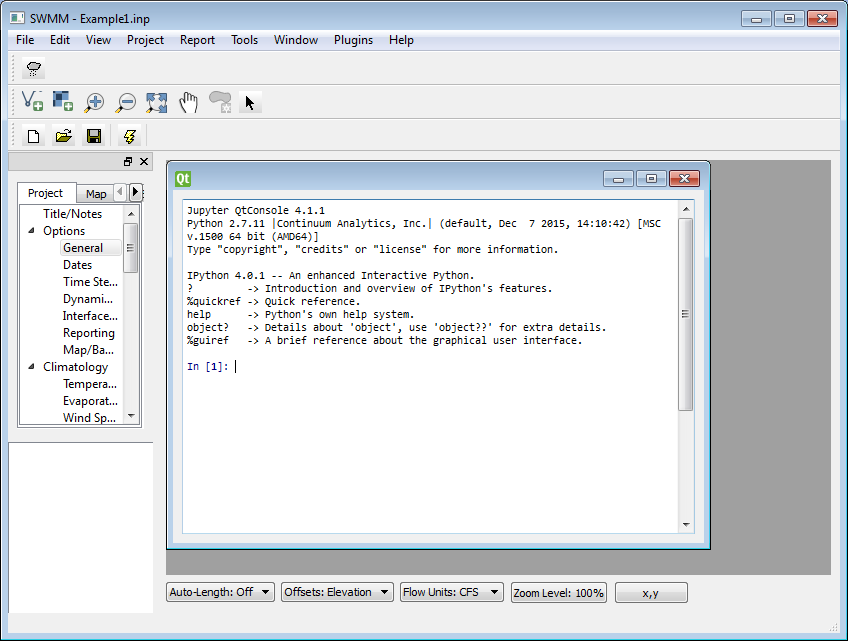
From 'Plugins:Scripting:IPython', the user can produce a window with an IPython prompt for running commands.
For example, the user could enter the following text to change the minimum slope to 0.05:
session.project.options.min_slope = 0.05
From 'Plugins:Scripting:Exec', the user is prompted for the name of a .py file containing a Python script. After identifying the script, the script will automatically be executed.
The 'Plugins' menu also includes a menu for selecting each of the plugins within the installation 'plugins' folder. This installation package includes a sample plugin which adds a 'Summary' menu to the user interface with several submenus.
To run EPANET:
From the desktop shortcut or from the start menu, double-click on EPANET-UI.
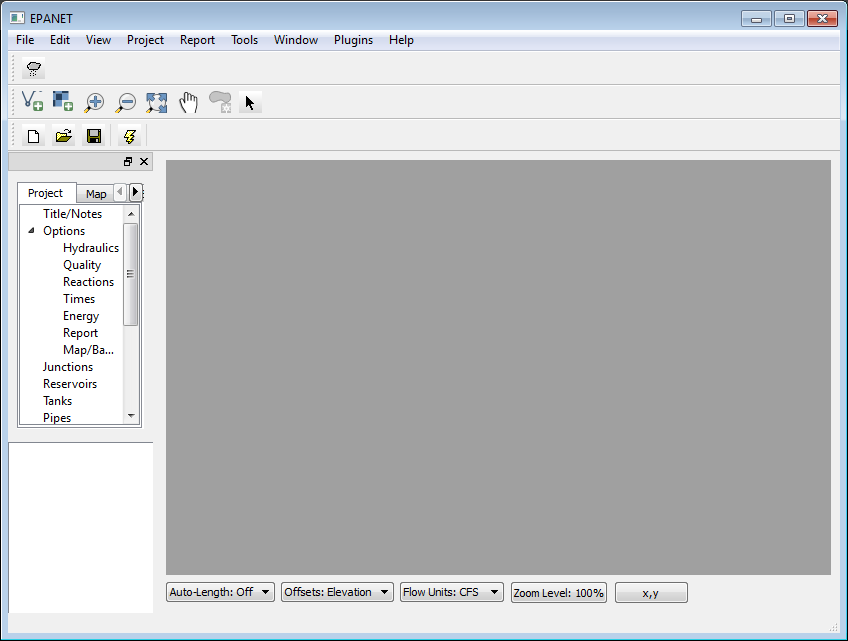
The following window will appear:
From the 'File' menu, choose 'Open'. You will be prompted to open an EPANET input (.inp) file.
As with the SWMM project, when an EPANET input file is open, several project sections are available for testing. Click any of these sections and an editing dialog will appear or the list of items will be populated in the lower-left corner.
Unit tests are provided in the folder test/core/swmm and test/core/epanet. To run these tests, run the python script test_all within each folder. User interface tests are available in test/ui. A full testing report is available at:
https://cdn.rawgit.com/USEPA/SWMM-EPANET_User_Interface/master/doc/EPATestingReport_MTP2.docx
System documentation including class diagrams can be found here:
https://cdn.rawgit.com/USEPA/SWMM-EPANET_User_Interface/master/doc/Doxygen/html/index.html
The installation packages run only on 64-bit Windows computers.
