-
Notifications
You must be signed in to change notification settings - Fork 68
MTP 2
June 15, 2016
This page describes the contents of MTP #2, including a description of the capabilities, installation instructions, instructions for running the software, test sequences and results, and system documentation.
This MTP (Minimum Testable Product) is released for testing of specific functionality. This is not a fully functional product and is not suitable for production use. This MTP provides user interfaces for SWMM and EPANET. Using the software, a user may open an existing SWMM or EPANET project, edit options/settings, save the project file, run the simulation, and analyze model results. In addition, the user may run Python scripts interactively and may create plug-ins which provide additional functionality and interact with the project settings and outputs.
The following new capabilities are included in this release:
- Editing additional SWMM project sections: Aquifers, Climatology: Evaporation, Climatology: Temperature, Wind Speed, Snow Melt, Control Rules, Cross-Section, Curves, Groundwater Flow, Infiltration, Inflows, Dry Weather Inflows (Junction, Inflows, Dry Weather), RDI Inflows, Initial Buildup [LOADING], Land Uses: General, Land Uses (Buildup), Land Uses (Washoff), Land Use Assignment [COVERAGES], LID Controls, LID Usage, Pollutants, Snow Packs, Time Patterns, Time-Series, Transects, Treatment, Unit Hydrograph
- Editing additional EPANET project sections: Time Patterns, Curves, Controls, Demands, Sources
- Read binary output from both models
- Reports and graphs
- Help system is now available for both models with context-sensitive reaction to the Help key - F1, opening to the section appropriate to the current window. (Help contents to be updated to reflect the new interface in the future.)
- Several suggested improvements from previous MTP:
- Run EPANET model using DLL calls and providing detailed progress information instead of running EXE
- Make sure binary and text outputs are directed to the intended files
- Make forms look good with different user-selected system font sizes
- Add documentation for using Inno Setup as final packaging step
The installation packages for SWMM and EPANET can be obtained from the following links:
https://github.com/USEPA/SWMM-EPANET_User_Interface/releases/download/MTP1/EPANET-UI-MTP1.exe
https://github.com/USEPA/SWMM-EPANET_User_Interface/releases/download/MTP1/SWMM-UI-MTP1.exe
Run EPANET-UI_MTP1.exe to install EPANET, and run SWMM-UI-MTP1.exe to install SWMM.
To run SWMM:
From the desktop shortcut or from the start menu, double-click on SWMM-UI.
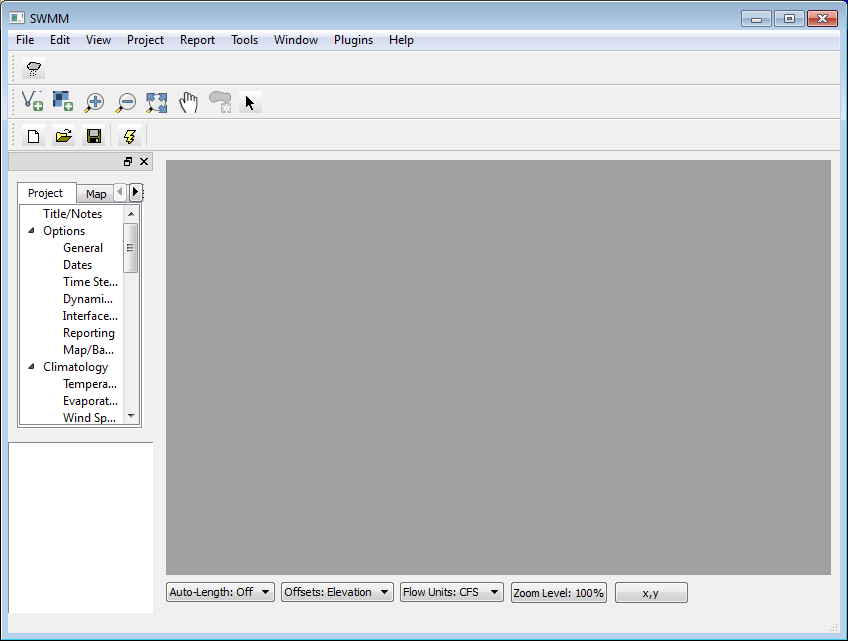
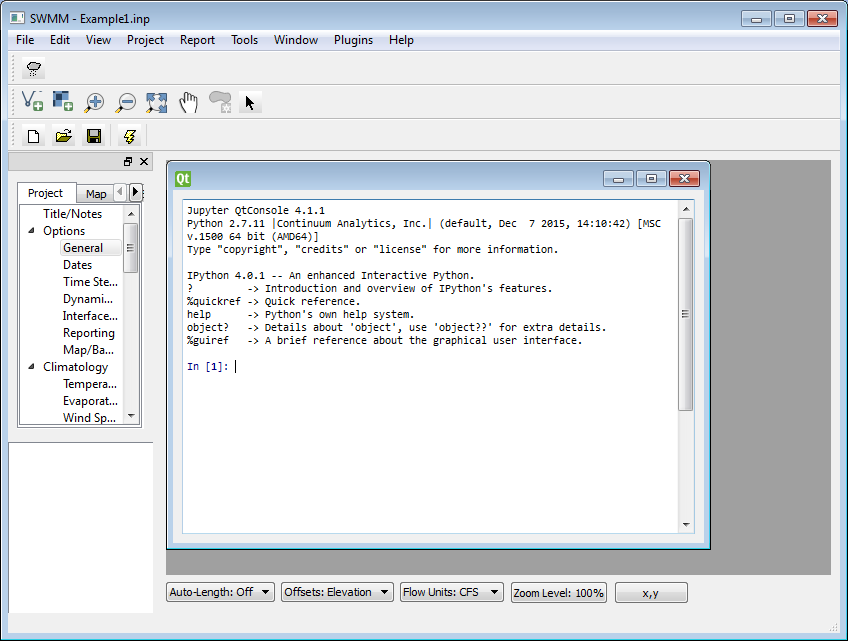
The following window will appear:
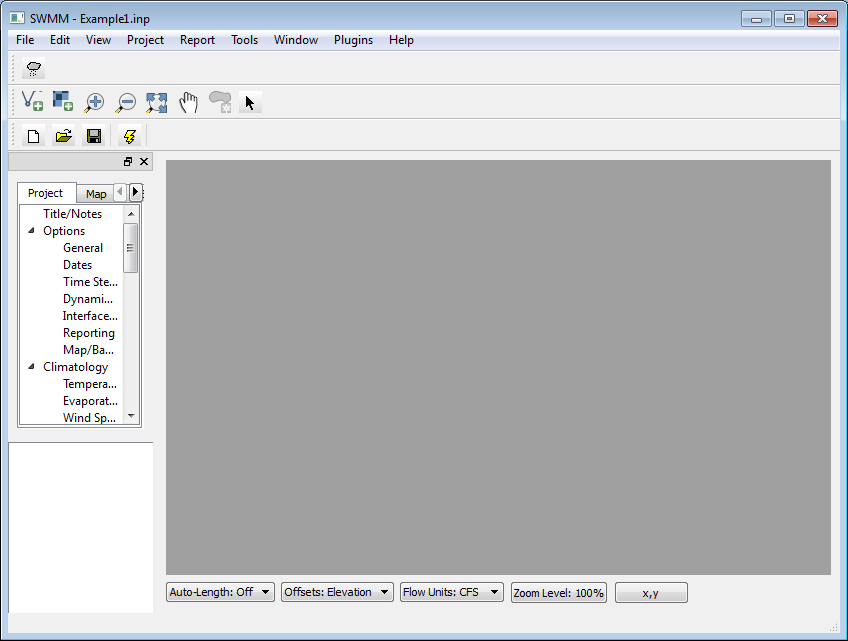
From the 'File' menu, choose 'Open'. You will be prompted to open a SWMM input (.inp) file.
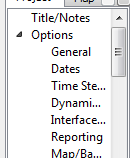
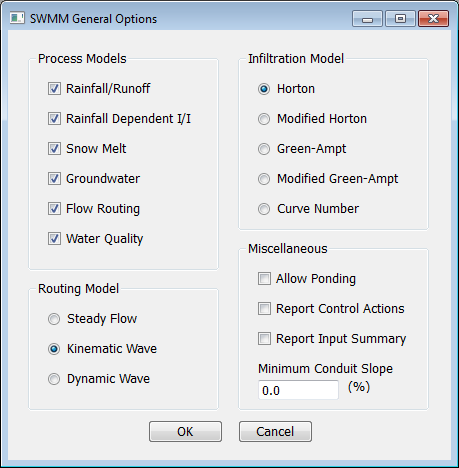
With a SWMM input file open, the project title and options are available for testing. Click any of these 8 items and an editing dialog will appear.
After the desired edits are complete, the project can be saved using the 'File:Save' menu item.
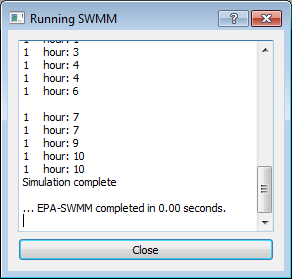
The simulation can be run by clicking the lightening bolt icon or through the 'Project:Run Simulation' menu item.
The 'Plugins' menu is used for accessing scripting and plug-in options.
From 'Plugins:Scripting:IPython', the user can produce a window with an IPython prompt for running commands.
For example, the user could enter the following text to change the minimum slope to 0.05:
session.project.options.min_slope = 0.05
From 'Plugins:Scripting:Exec', the user is prompted for the name of a .py file containing a Python script. After identifying the script, the script will automatically be executed.
The 'Plugins' menu also includes a menu for selecting each of the plugins within the installation 'plugins' folder. This installation package includes a sample plugin which adds a 'Summary' menu to the user interface with several submenus.
To run EPANET:
From the desktop shortcut or from the start menu, double-click on EPANET-UI.
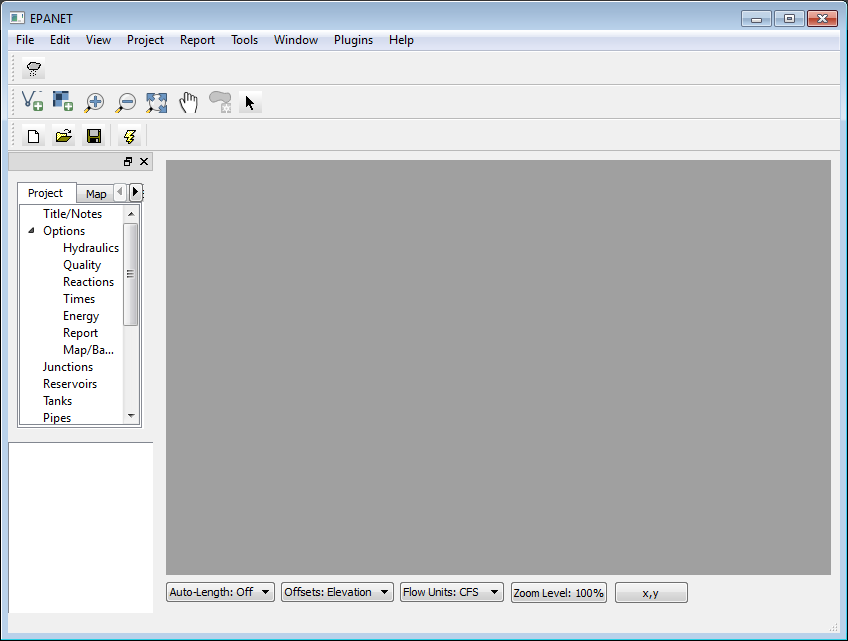
The following window will appear:
From the 'File' menu, choose 'Open'. You will be prompted to open an EPANET input (.inp) file.
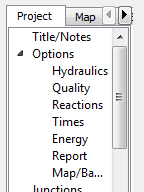
As with the SWMM project, with an EPANET input file open, the project title and options are available for testing. Click any of these 8 items and an editing dialog will appear.
Unit tests are provided in the folder test/core/swmm and test/core/epanet. To run these tests, run the python script test_all within each folder. The results of the unit tests are provided here:
SWMM Unit Test Results:
https://cdn.rawgit.com/USEPA/SWMM-EPANET_User_Interface/dev-ui/test/core/swmm/test_results_swmm.html
EPANET Unit Test Results:
UI tests are provided in the folder test/UI. To run these tests, run the python script test_any. The results of the unit tests are provided here:
https://cdn.rawgit.com/USEPA/SWMM-EPANET_User_Interface/dev-ui/test/ui/test_results_ui.html
System documentation including class diagrams can be found here:
https://cdn.rawgit.com/USEPA/SWMM-EPANET_User_Interface/master/doc/Doxygen/html/index.html
The installation packages run only on 64-bit windows computers at this point.
