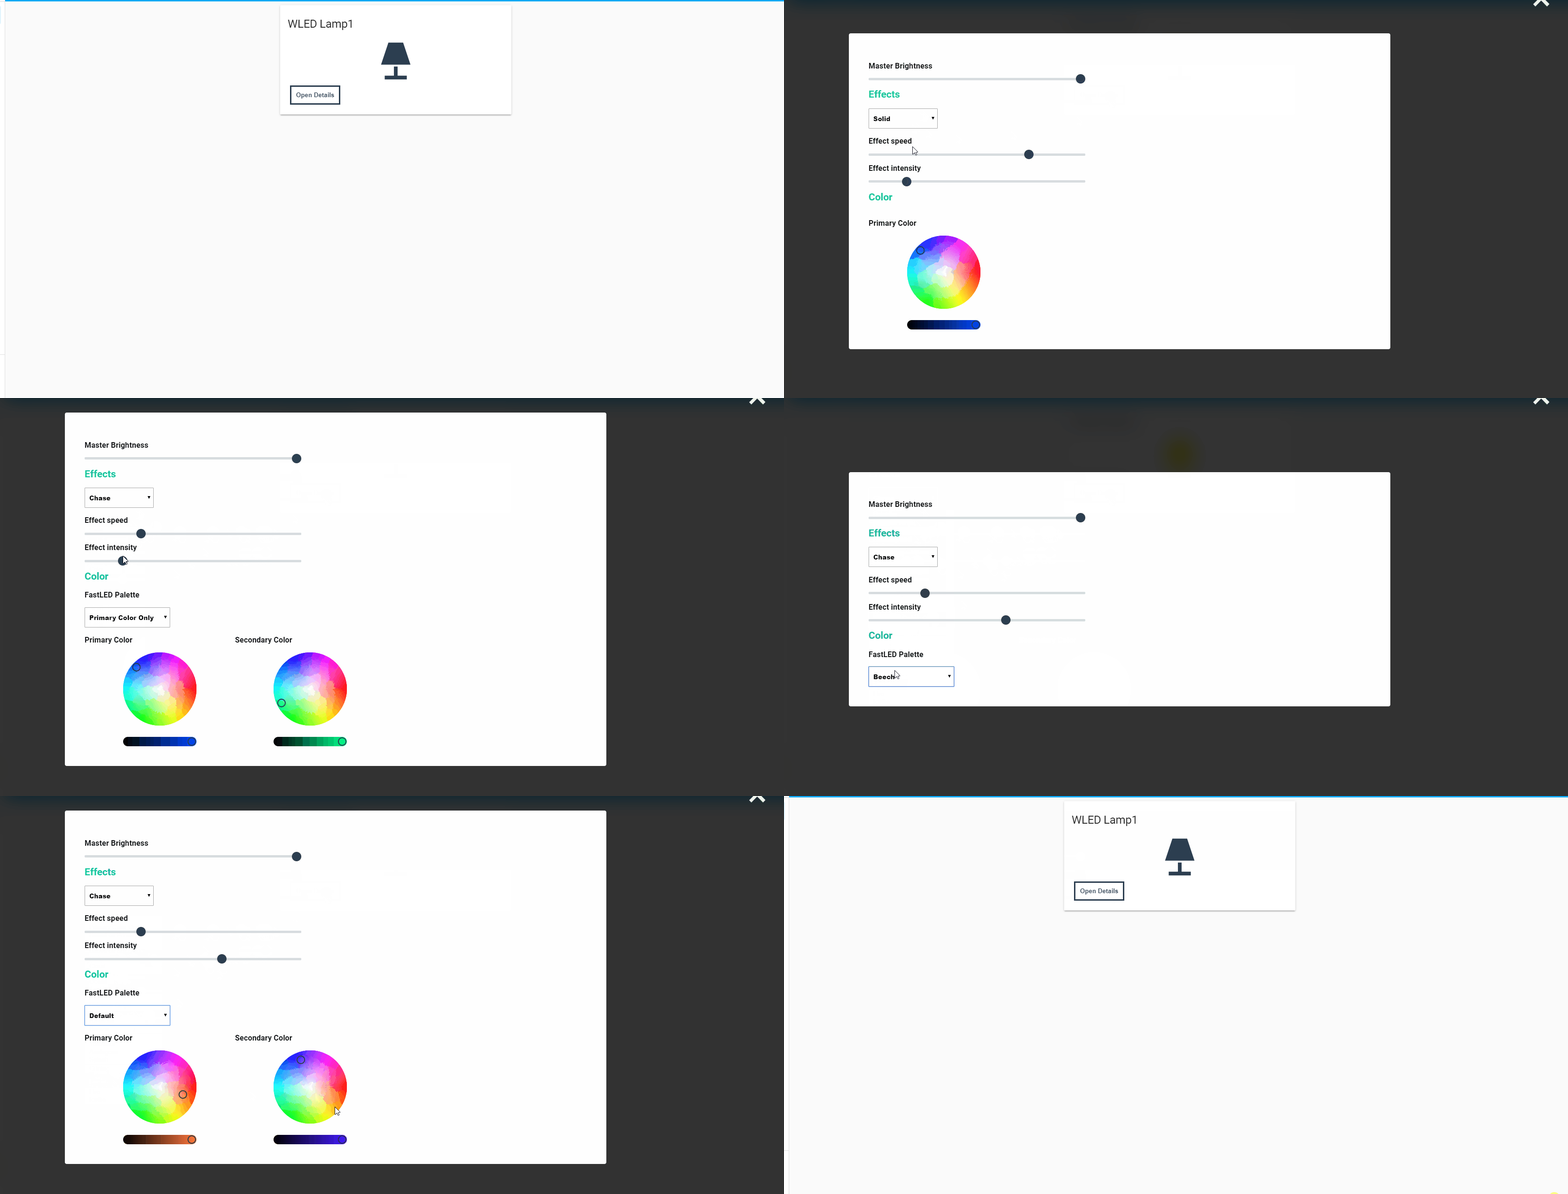
First of all big thanks to Aircoookie and his incredible work at the WLED repo, without it this wouldn't be possible!
- Set up MQTT Broker for WLED (restart after setting it)
- Download libs and put them into config/www/lib on your hassio/config
-
Clone repo and put it under www/wled_control/
-
Add this to ressources in config/lovelace.ui.yaml
  - url: /local/lib/tingle.min.css
    type: css
  - url: /local/wled_control/static/wled.css
    type: css
  - url: /local/wled_control/static/effects.js
    type: js
  - url: /local/wled_control/static/fastLEDPallete.js
    type: js
  - url: /local/lib/tingle.min.js
    type: js
  - url: /local/lib/iro.min.js
    type: js
  - url: /local/wled_control/wled_control.js
    type: module
- Add the custom card like this
Note: IP is needed to load the initial state of WLED since we don't save the state in hassio all communication with the led will happen by MQTT-Messages
- type: custom:wled-control-card
        topic: "wled/[MQTTCHANNEL]"
        ip: "[WLEDIP]"
        title: WLED Strip
title: Home
resources:
  - url: /local/lib/tingle.min.css
    type: css
  - url: /local/wled_control/static/wled.css
    type: css
  - url: /local/wled_control/static/effects.js
    type: js
  - url: /local/wled_control/static/fastLEDPallete.js
    type: js
  - url: /local/lib/tingle.min.js
    type: js
  - url: /local/lib/iro.min.js
    type: js
  - url: /local/wled_control/wled_control.js
    type: module

views:
    # View tab title.
  - title: MyLoveLaceUi
    cards:
      - type: custom:wled-control-card
        topic: "wled/lamp1"
        ip: "192.168.0.94/"
        title: lamp1
      - type: custom:wled-control-card
        topic: "wled/lamp2"
        ip: "192.168.0.95/"
        title: lamp2
  /wwww
    /wled_control
      /static
        effects.js
        fastLEDPallete.js
        wled.css
      wled_control.js
    /lib
      iro.min.js
      tingle.min.css
      tingle.min.js
  ui-lovelace.yaml
Report the issue via github and I will try to help you!
