Be sure to ⭐ this repo so you can keep up to date on any daily progress!
Disclaimer: Proceed with caution!
Using the information contained within this repository to modify your device will lead to warranty violation !
The responsibility lies entirely with you if you damage/destroy your device or cause any other trouble.
The purpose of this collection is to share information about managing your Controllino v1 device and not to cheat the Helium Network.
No configuration found here will help you increase your mining rewards. This depends entirely on your hotspot placement and antenna installation.
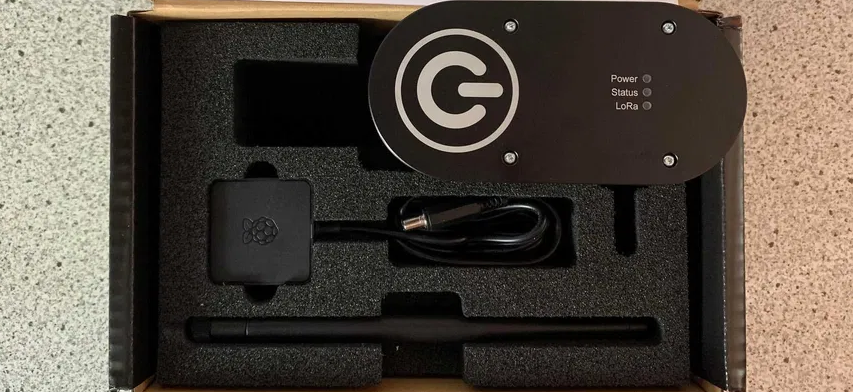
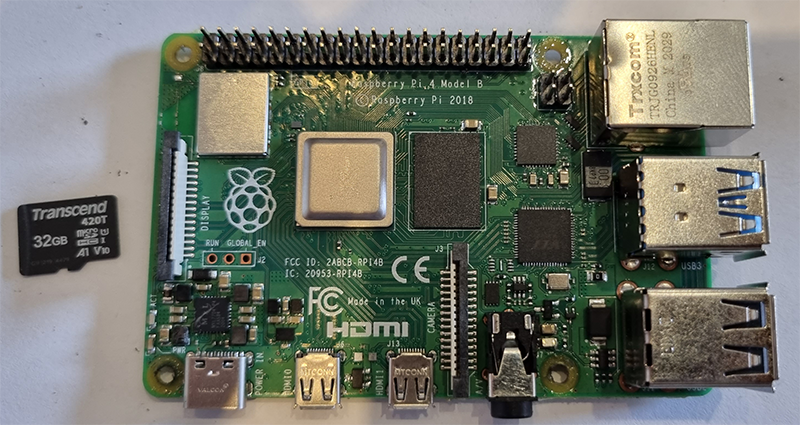
| Raspberry Pi 4B 8GB | Transcend 420T | Embit LoRa | |
 |
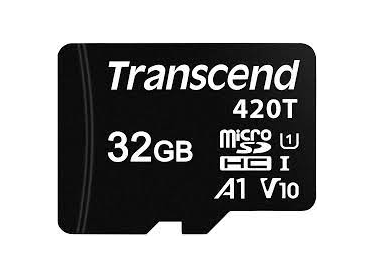 |
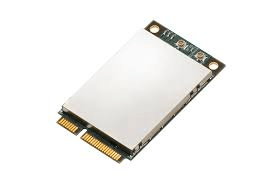 |
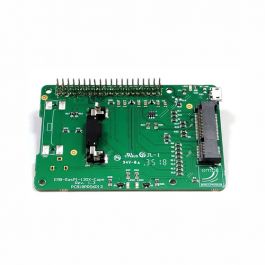 |
|
|<-- Add some blah-blah about the Hardware -->| FCC Approval for EMBLR1302: https://fccid.io/Z7HEMBLR1302 | |||
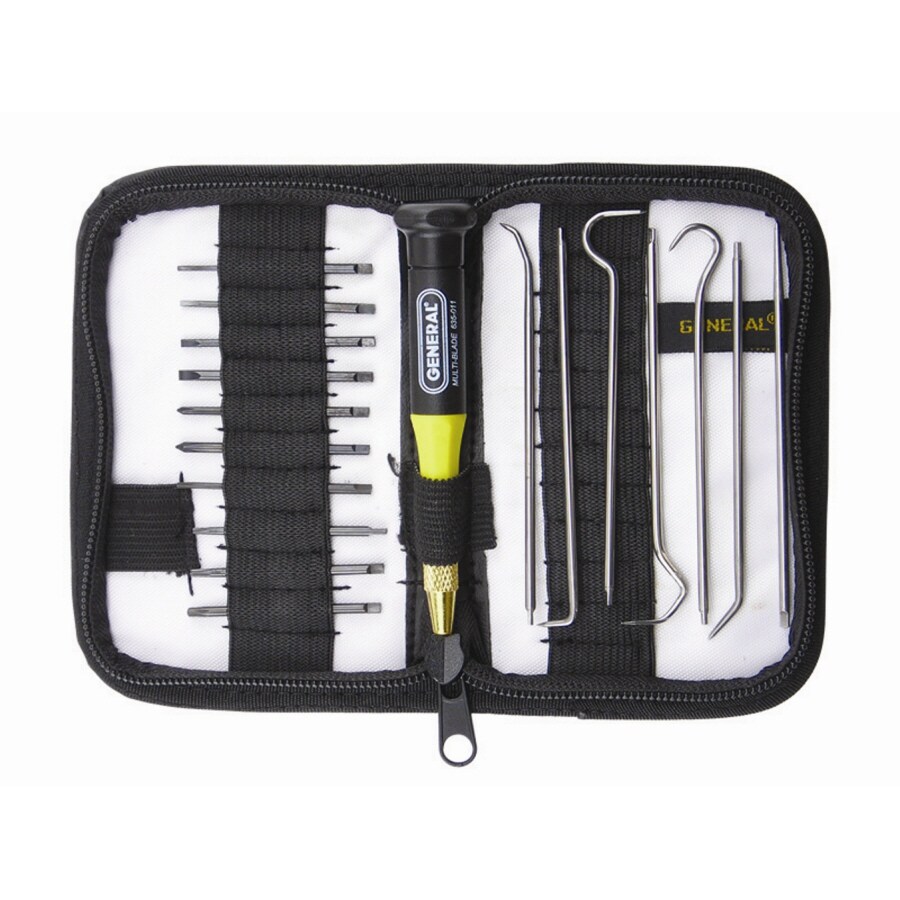
| T15 Torx bit | 5mm Hex Female bit | M2.5 Hex Spacers | General Tools |
 |
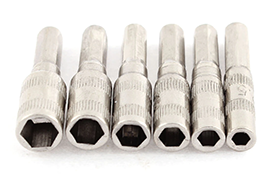 |
 |
 |
|
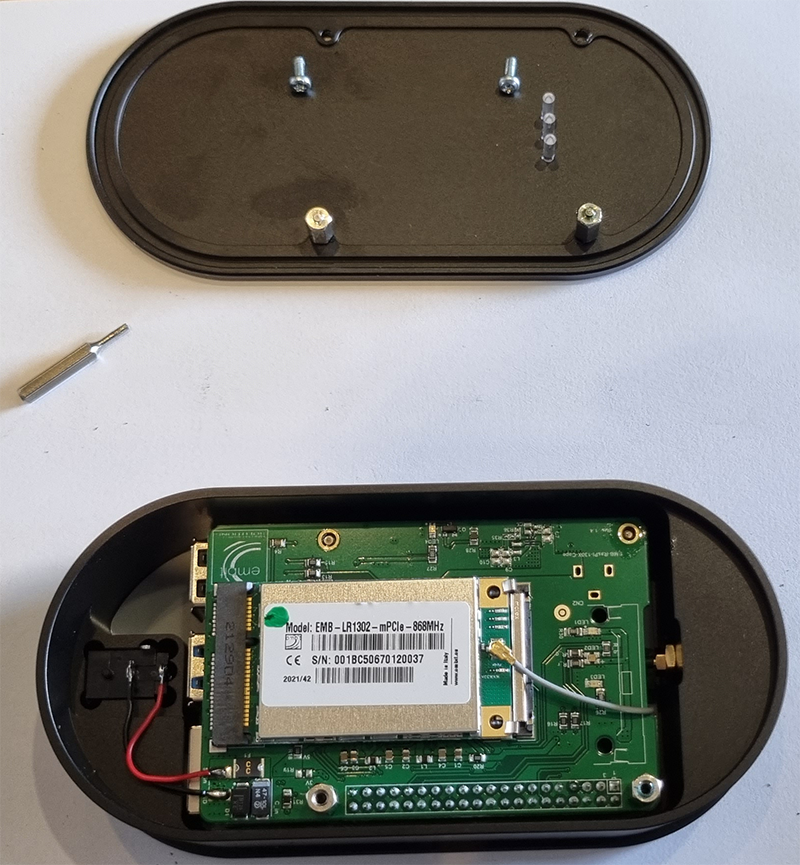
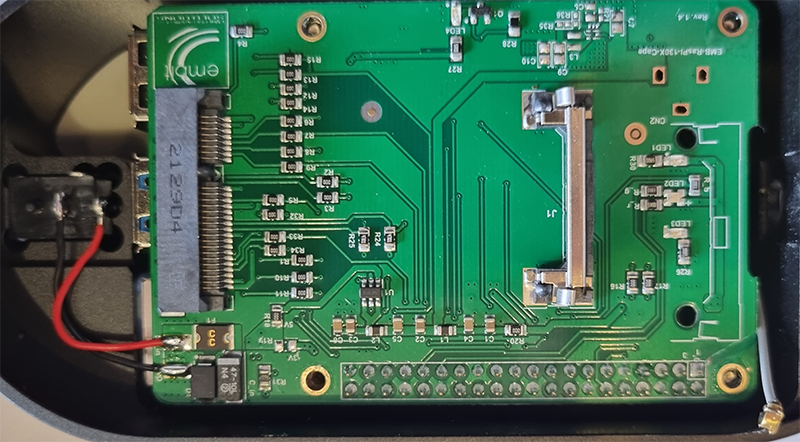
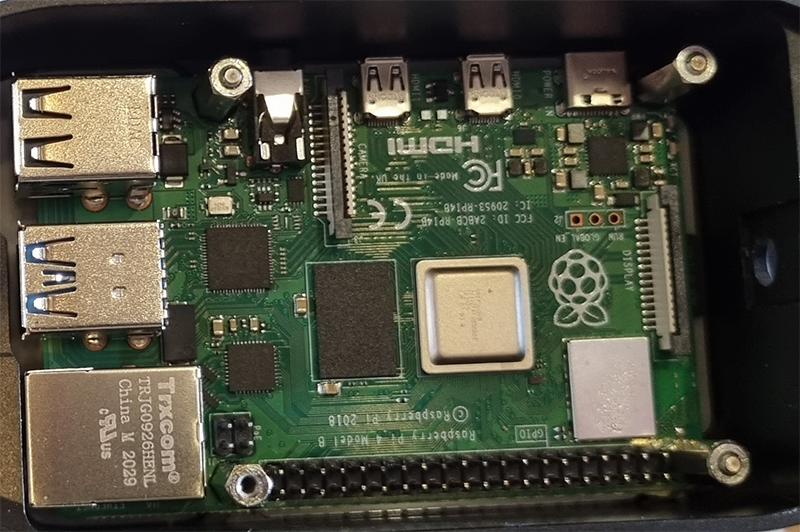
To open the Controllino v1 Chassis, follow the steps below:
Step 2) Open the top cover and remove IPX antenna connector and the LoRa mPCIe card. Lift the power connector from its socket Step 3) Gently remove the LoRa hat (lift slowly from both sides) Step 4) Using the 5mm Hex Female bit, secure the M2.5 15mm Spacers and unscrew the bottom screws. Do not use pliers to hold the spacers because they may slip and damage the rPi board Step 5) Remove the rPi and take out the SD Card Step 6) Replace broken standoffs with new ones
| |||
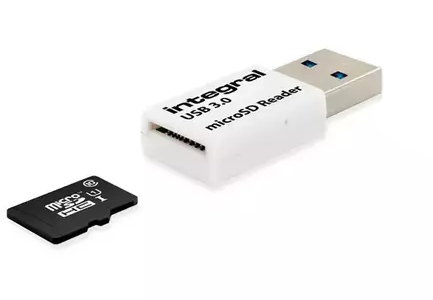
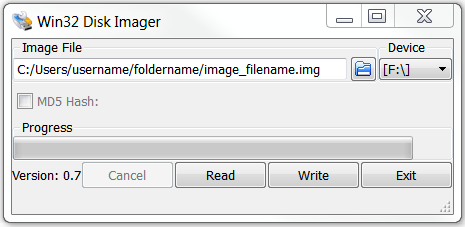
| micro SD Card Reader | Win32 Disk Imager | ext4 Mount Util | Windows PC |
 |
 |
 |
 |
|
To backup the contents of your SD Card, follow the steps below:
Step 2) Download Win32 Disk Imager and install it Step 3) Choose a location to store the image file and select "Read" to initiate the backup Step 4) Create and place a blank file named ssh (no file extension) onto the boot partition of the SD Card Step 5) Download and install Paragon ExtFS trial edition and install it Step 6) Mount the ext4 partition and create a folder .ssh in directory /home/pi/ Step 7) Create a text file authorized_keys (no file extension) within directory /home/pi/.ssh/ and place your public ssh key inside. See useful links below for more details on how to setup SSH keys Step 8) Unmount the SD Card, place it back into the Controllino v1 and power up the hotspot Step 9) Use any SSH client to authenticate with username: pi using Public Key methodUseful LinksHow to Back Up a Raspberry Pi SD Card in Windows How to Setup Raspberry Pi SSH Keys | |||
|
Based on the work of: https://github.com/inigoflores/ "What is P2P and P2P peer book?" Glad you asked! P2P: Helium is using an extended version of the libP2P system which part of IPFS. It is used as a network layer by the peers to communicate with each other directly as equal participants. Peer Book: Think of it as a DNS server. It is stored locally on your miner in a RocksDB and holds the combination of the peerid and ipv4 address with tcp port (default: 44158) of the hotspots. It has a limited size, so it can't hold all the addresses (620k+). Notes:
P2P Communications are used for several purposes by the miner. This will change when HIP55 will be fully implemented and the new light hotspots will emerge. Until then, you can try to increase the parameters for P2P comms to see if you get less warnings & errors of the following type: /var/log/console.log: 2022-03-02 11:25:18.707 8 [warning] <0.23459.1>@miner_onion_server:send_witness:
{243,37} failed to dial challenger "/p2p/<hotspot_id>": not_found"/var/log/error.log: 2022-03-02 11:26:47.667 [error] <0.23303.1>@miner_onion_server:send_witness:
{207,5} failed to send witness, max retryTo modify the P2P parameters, follow the steps below:
root@controllinohotspot:~# cd /home/pi/docker_config/
root@controllinohotspot:/home/pi/docker_config# cp docker.config docker.config.old
Step 2) Edit /home/pi/docker_config/docker.config using the text editor of your choise (i.e. vim, nano, etc)
root@controllinohotspot:~# vi /home/pi/docker_config/docker.configStep 3) Add the following 3 new options in the section blockchain of the config file:
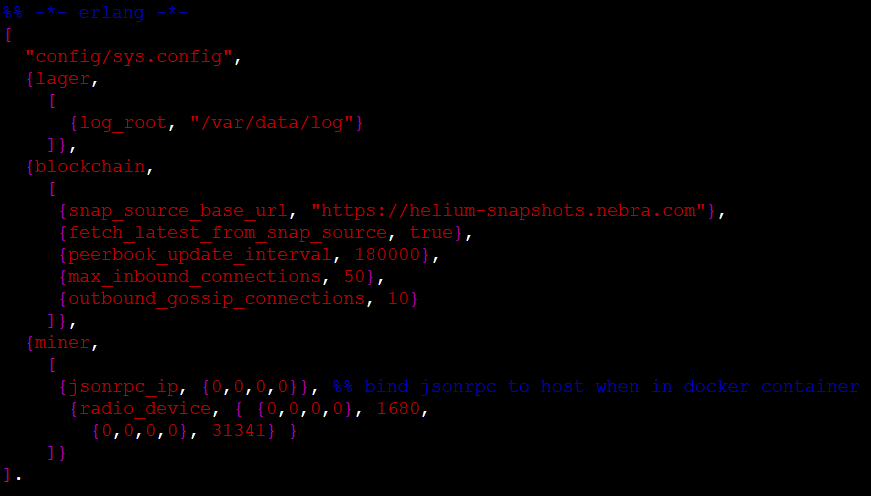
     {peerbook_update_interval, 900000},
     {max_inbound_connections, 50},
     {outbound_gossip_connections, 10}
Careful when adding these options to fix the commas on the existing ones otherwise the miner will not start. Save the file and exit the editor. Important Note: The config file will be overwitten when the miner is upgraded to a new release or when you perform Step 4) Restart miner
root@controllinohotspot:~# docker restart minerStep 5) Check new Peer Book info: root@controllinohotspot:~# docker exec miner miner peer book -s
root@controllinohotspot:~# docker exec miner miner peer book -cYou can also refresh the peer book entry and ping the peer with: root@controllinohotspot:~# docker exec miner miner peer refresh /p2p/<peerid>
root@controllinohotspot:~# docker exec miner miner peer ping /p2p/<peerid>
Useful Info |
|
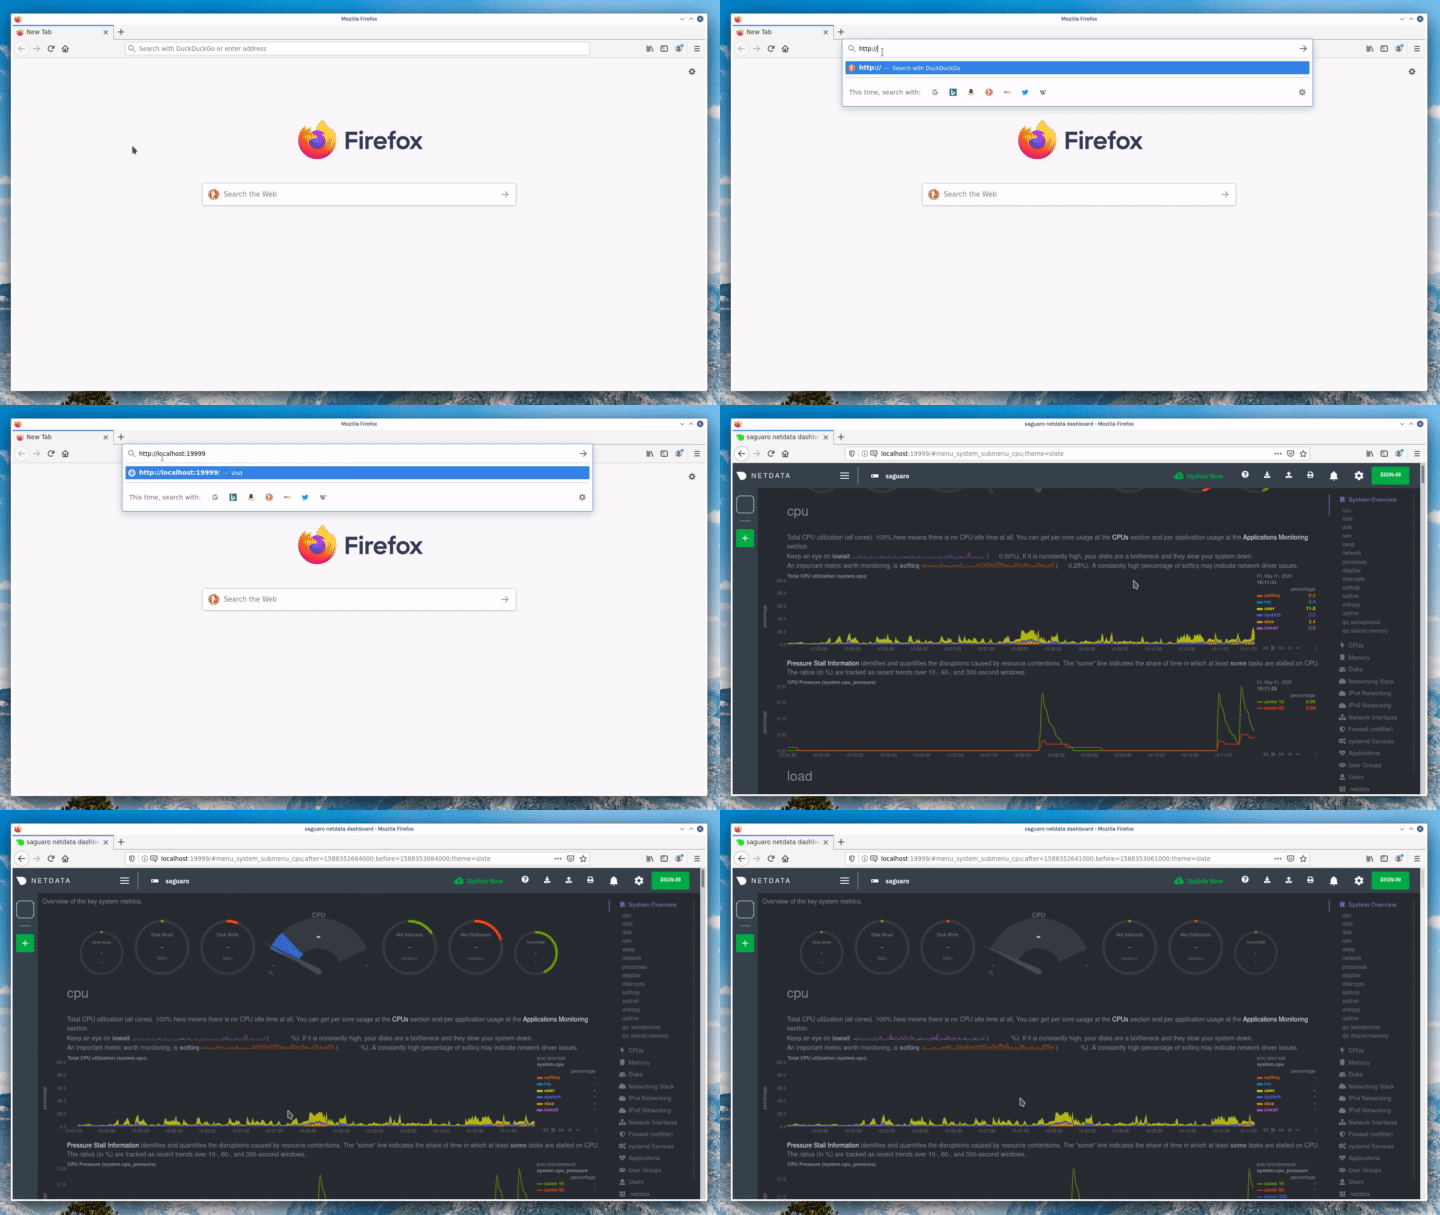
Using Netdata monitoring agent, we will collect thousands of metrics from our Controllino v1 system (hardware, containers, and applications) with zero configuration.
Because it's free, open-source, and requires only 1% CPU utilization to collect thousands of metrics every second, Netdata is a superb single-node monitoring tool. To install the netdata agent on your Controllino v1, follow the steps below: Step 1) (optional) Update your Rasbpian packages to the latest versions root@controllinohotspot:~# apt update && apt upgradeStep 2) Install Netdata, including all dependencies, disable telemetry, and get automatic stable updates
root@controllinohotspot:~# wget -O /tmp/netdata-kickstart.sh \
https://my-netdata.io/kickstart.sh && sh /tmp/netdata-kickstart.sh \
--stable-channel --disable-telemetry
Step 3) Modify the netdata agent config file (/etc/netdata/netdata.conf) parameter "bind to =" (from 127.0.0.1 to 0.0.0.0) to allow remote connections:
[global]
    run as user = netdata

    # the default database size - 1 hour
    history = 3600

    # some defaults to run netdata with least priority
    process scheduling policy = idle
    OOM score = 1000

[web]
    web files owner = root
    web files group = netdata

    # by default do not expose the netdata port
    bind to = 0.0.0.0
Step 4) Enable the netdata service for auto-startup root@controllinohotspot:~# systemctl enable netdataStep 5) Access the local netdata dashboard to see your node's real-time metrics by browsing to Enjoy the metrics! Multiple Nodes: You can use Netdata Cloud to have a single view of all your Controllinos running the netdata agent. You can customize key metrics from any number of Controllino monitored nodes and seamlessly navigate to any node’s dashboard for granular performance troubleshooting. |
| Controllino Dashboard v.1.2 | Tip 2 | Tip 3 | Tip 4 |
 |
 |
 |
 |
|
Comon Troubleshoting Steps / Notes / Tips
○ Dashboard version cannot be updated manually. If you have an older version, contact Controllino support @ https://hotspot.controllino.com/support/ and provide your hotspot name & MAC Address ○ The hotspot checks automatically every 10 minutes the following: 1) Disk Usage: If it grows above 90%, it will perform both Clear Miner Data & Instasync operations 2) LoRa Packet Forwarder: If service is not active, it will restart it and the miner ○ Check the Discord Server @ https://discord.gg/z8kxkgMn44 for more hints & tips and community support | |||
Notable Software on my Laptop:
- Debian 11 - It all starts here
- Docker - Docker
- XShell 7 - The industry’s most powerful SSH client
- Netdata - Infrastructure monitoring and troubleshooting
The issues section on github is where I store all my wishful ideas and future enhancements.
Feel free to join the conversations there.
Still have questions?
Join us at the Controllino Discord :


or donate some HNT :)
![]()
