-
Notifications
You must be signed in to change notification settings - Fork 2
2.0 HomeKit
The final stage (stage 11) of the alarm system installer script provides a fully scripted install of the HAP-NodeJS HomeKit Accessory Server by KhaosT. To make this work you will need...
- Raspberry Pi 2 (quad core)
- iPhone running iOS 9.1 or later
- Internet enabled Wi-Fi LAN connection
- A lot of patience.
iOS 9.1 provides HomeKit support, but only goes as far as providing the HomeKit database, and a single button to reset it. Other than that, there is no immediate method to interact with, or configure the database through iOS 9.1. However, a number of third party applications have started to appear as free downloads in the App Store, so we can use these to fill the missing gap.
Before you can use the HomeKit interface, you need to install one of these third party apps, and use it to pair your iPhone with your HomeBridge. The pairing process requires a lot of CPU, and generates a lot of network traffic as the HomeKit database is synchronised between your iPhone, your Raspberry Pi and the Cloud. This is the part that requires the patience, as it is likely to time out and fail, so you may need to repeat this process a few times.
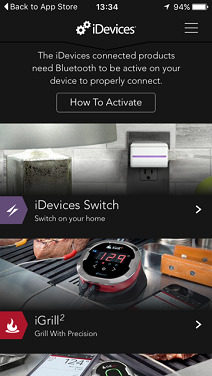
Step 1 - Install HomeKit app. On your iPhone, go to the App Store and search for 'iDevices HomeKit', as per the screenshot below...

Step 2 - Open the app. If the alarm-system installer hasn't yet completed, or if the Raspberry Pi is offline, you will get the screen shot on the left. But if the install has worked, the HomeKit server will be running and you will get the screen shot on the right.
 .............
Step 3 - Initialise the HomeKit database.
- Press the '+' button next to Node Bridge.
- Dialog box 'Confirm - The device should have flashed or beeped to identify itself.' - I haven't put any code in to allow the HomeBridge to identify itself, so even though the HomeBridge doesn't identify, click 'Yes'.
- Next screen 'Lets get set up' Either customise your house settings or select 'No thanks use defaults'.
- Next Dialog box 'Add HomeKit Accessory. This accessory is not certified and may not work reliably with HomeKit.' - Click on 'Add Anyway'.
- Next screen 'Add accessory' - This screen is looking to scan the 8-digit accessory setup code, but I've never been able to get the scanner to work. Click on the button to 'Enter code manually' and enter the digits '031 45 154'.
- Next screen 'accessory added - Node Bridge is ready to use.' - The screen just sits there for a few seconds while the HomeKit database synchronises in the background. When synchronised, the next screen appears.
- Next screen 'Name Your Product' - Click on 'next' to accept the default name.
- Next screen 'Current Photo' - Click on 'next' to accept the default photo.
- Next screen 'Product Set Up Complete!' - Click on 'Start Using Product'
At this point the pairing process is complete, and you should be able to see a number of sample accessories connected through the HomeBridge.

Visit the website oddwires.co.uk