To contribute to the project, please follow these steps:
- Go to the
docsfolder and look at the resources. - All you need is to add a unique new resource to any of the markdown files. You only need to add one resource for the Pull Request.
- Go to the end of the page and add a new resource.
- Image of the resource is not necessary, if you want to add the image of the website, you can first load the image on Dev.to and paste the link from there.
- You can add a short description after the heading. For the heading use
###for Heading level 3 and make sure it looks good.
If you need help writing markdown files, you can checkout this website.
You can check out this example:
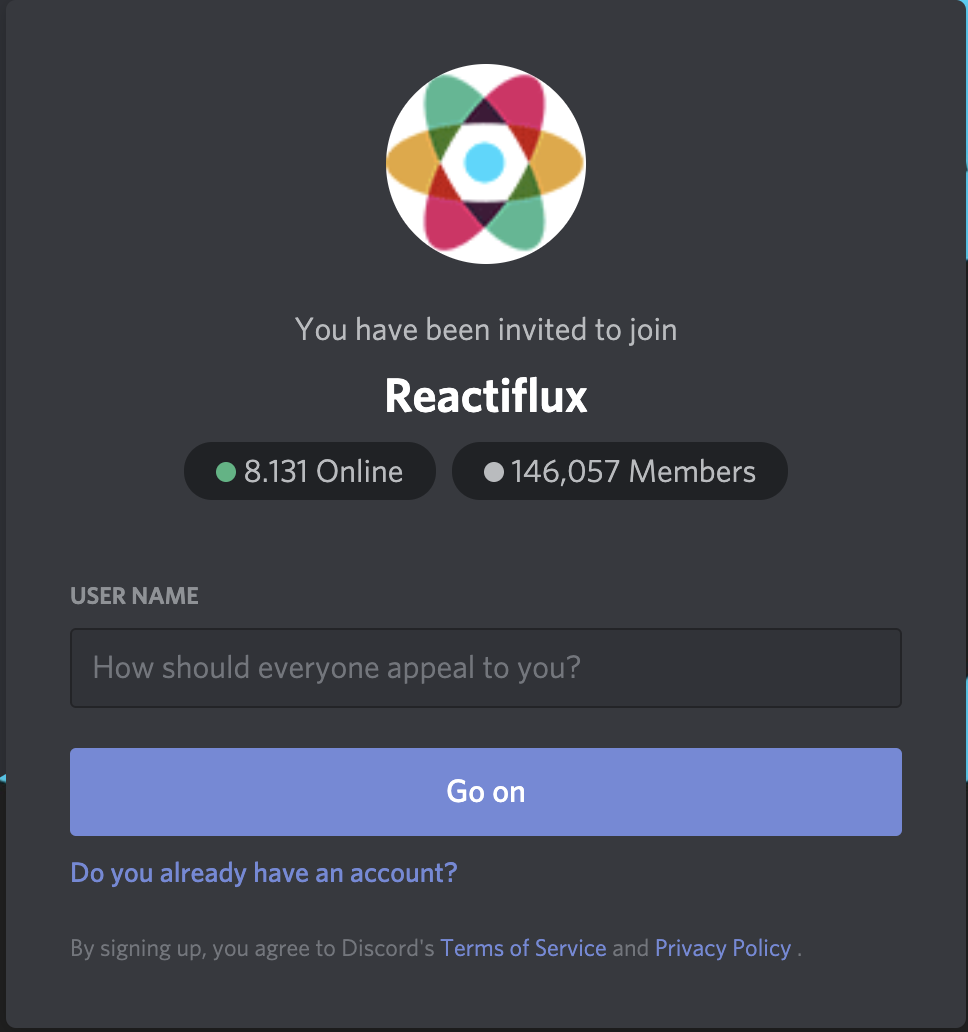
### 1.[Reacti Flux](https://discord.com/invite/reactiflux)
Reacti Flux is the largest community of React developers (110,000+)!
If you cannot find a new resource to add, you can just create a new page and a different category. It can be related to frontend, backend, cloud, blockchain, or mobile development. It can be whatever you want.
For that, create a new markdown file for a new category and add the resource there.
- create the file name as
<category>-<number>.mdand add the resource to the file. For example, you can the file asfree-websites-1.md. Then, go tosidebars.jsfile in the root of the project and add the file name to the list.
module.exports = {
  someSidebar: {
    resources: [
      'free-websites-1',
      'free-media-3',
      'react-5',
      'css-2',
      // 'markdown-features',
      'javascript-4',
      'nextjs-6',
      'job-hunt-8',
      'career-9',
      'computer-science-7',
      // add the new file name
    ],
  },
}- MDX file starts with YAML front matter block declared as triple-dashed lines. Declare the
titleproperty.
---
title: Free Images/Videos
---- After the title, add your resource similar to this:
### 1.[Reacti Flux](https://discord.com/invite/reactiflux)
Reacti Flux is the largest community of React developers (110,000+)!
Use the git diff command to see the changes you’ve made. This will show your changes with the + sign. To quit the terminal, use the q key.
Run the project.
npm install
npm start
Make sure the page loads without any errors and you have added a new resource.
Next, you want to stage, commit, and push your changes to your fork. Staging means saving your changes so they are ready to be added to your branch.
git add .
git commit -m "type your commit message"
- m is a flag for the message. That means that whatever comes after -m is a message explaining your commit. Your commit message doesn't have any effect on your code; it's like a comment.
git push
git push adds the changes on your computer to your GitHub repository.
Navigate back to the original repo from which you forked, and you will see a prompt to open a new Pull Request from the branch you just pushed to.
Click Compare & pull request, add a description describing the changes you made.
To submit your pull request, click the green 'Create pull request' button.
Well done, you have made your pull request! 🎉🎉🎉