If you have any questions regarding bugs and feature requests, visit the ZEGOCLOUD community .
Call Kit is a prebuilt feature-rich call component, which enables you to build one-on-one and group voice/video calls into your app with only a few lines of code.
And it includes the business logic with the UI, you can add or remove features accordingly by customizing UI components.
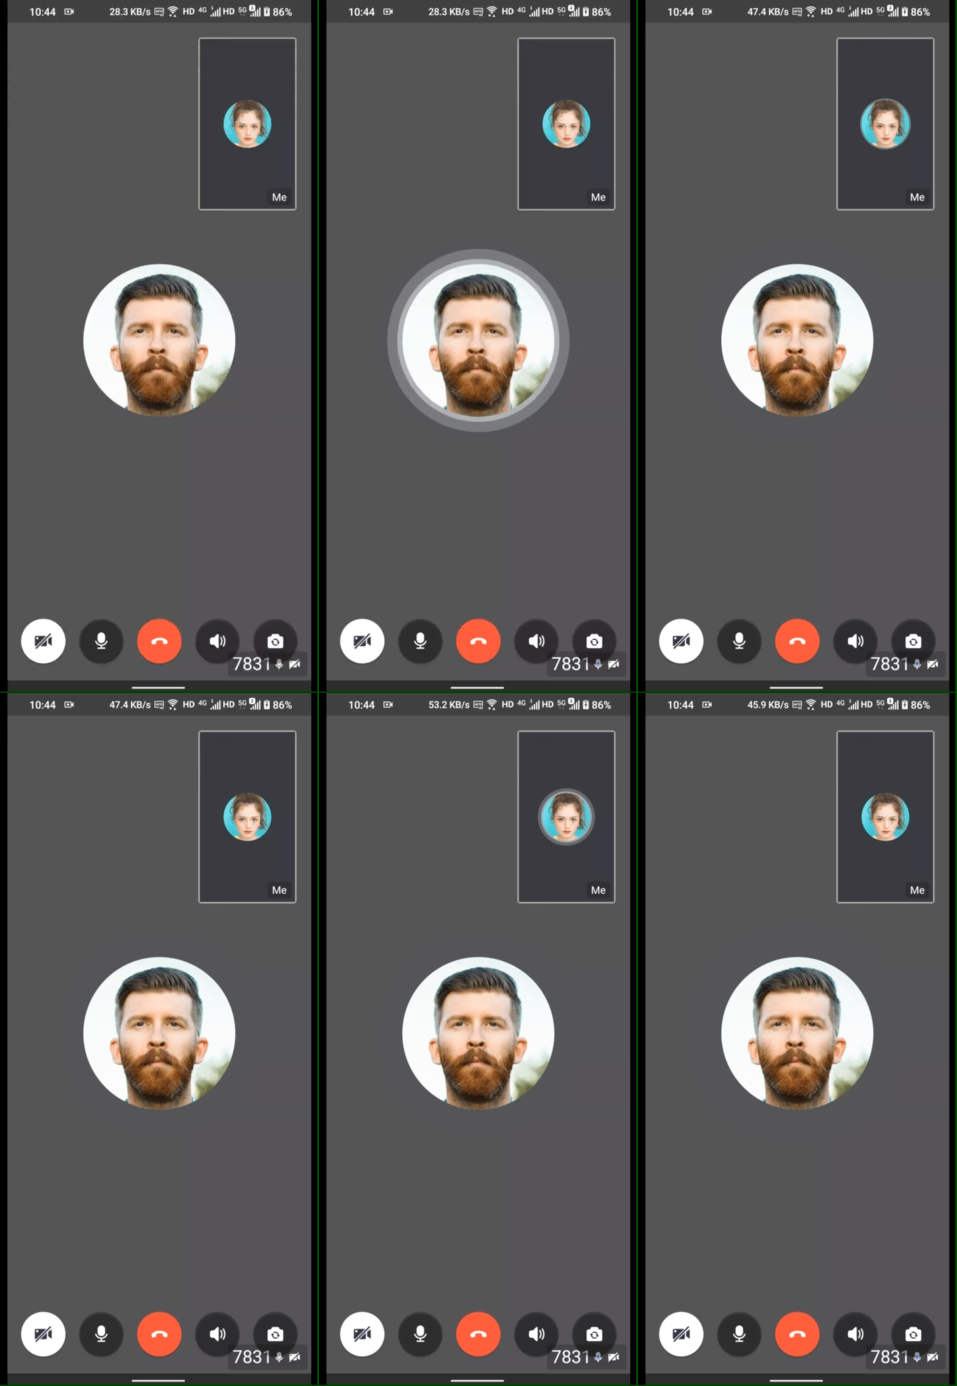
| One-on-one call | Group call |
|---|---|
 |
 |
-
Build apps faster and easier
-
When you want to prototype 1-on-1 or group voice/video calls ASAP
-
Consider speed or efficiency as the first priority
-
Call Kit allows you to integrate in minutes
-
-
Customize UI and features as needed
-
When you want to customize in-call features based on actual business needs
-
Less time wasted developing basic features
-
Call Kit includes the business logic along with the UI, allows you to customize features accordingly
-
- Ready-to-use one-on-one/group calls
- Customizable UI styles
- Real-time sound waves display
- Device management
- Switch views during a one-on-one call
- Extendable top/bottom menu bar
- Participant list
- Add the
jitpackconfiguration.
- If your
gradleversion is later than 6.8, modify yoursettings.gradlefile like this:
dependencyResolutionManagement {
   repositoriesMode.set(RepositoriesMode.FAIL_ON_PROJECT_REPOS)
   repositories {
      maven { url 'https://www.jitpack.io' } // <- Add this line.
   }
}- If not, modify your project-level
build.gradlefile instead:
allprojects {
    repositories {
        maven { url "https://jitpack.io" }  // <- Add this line.
    }
}- Modify your app-level
build.gradlefile:
dependencies {
    ...
    implementation 'com.github.ZEGOCLOUD:zego_uikit_prebuilt_call_android:1.0.2'    // add this line in your module-level build.gradle file's dependencies, usually named [app].
}- Go to ZEGOCLOUD Admin Console|_blank, get the
appIDandappSignof your project. - Get the
userIDanduserNamefor connecting the Video Call Kit service. - And also get a
callIDfor making a call.
userIDandcallIDcan only contain numbers, letters, and underlines (_).- Users that join the call with the same
callIDcan talk to each other.
public class CallActivity extends AppCompatActivity { @Override protected void onCreate(Bundle savedInstanceState) { super.onCreate(savedInstanceState); setContentView(R.layout.activity_call); addCallFragment(); } public void addCallFragment() { long appID = yourAppID; String appSign = yourAppSign; String callID = yourCallID; String userID = yourUserID; String userName = yourUserName; ZegoUIKitPrebuiltCallConfig config = new ZegoUIKitPrebuiltCallConfig();ZegoUIKitPrebuiltCallFragment fragment = ZegoUIKitPrebuiltCallFragment.newInstance( appID, appSign, userID, userName,callID,config);getSupportFragmentManager().beginTransaction() .replace(R.id.fragment_container, fragment) .commitNow(); } }
Now, you can make a new call by starting your CallActivity.
Now you have finished all the steps!
You can simply click the Run on Android Studio to run and test your App on your device.

