30-second Slideshows for Hackers. http://jdan.github.io/cleaver/
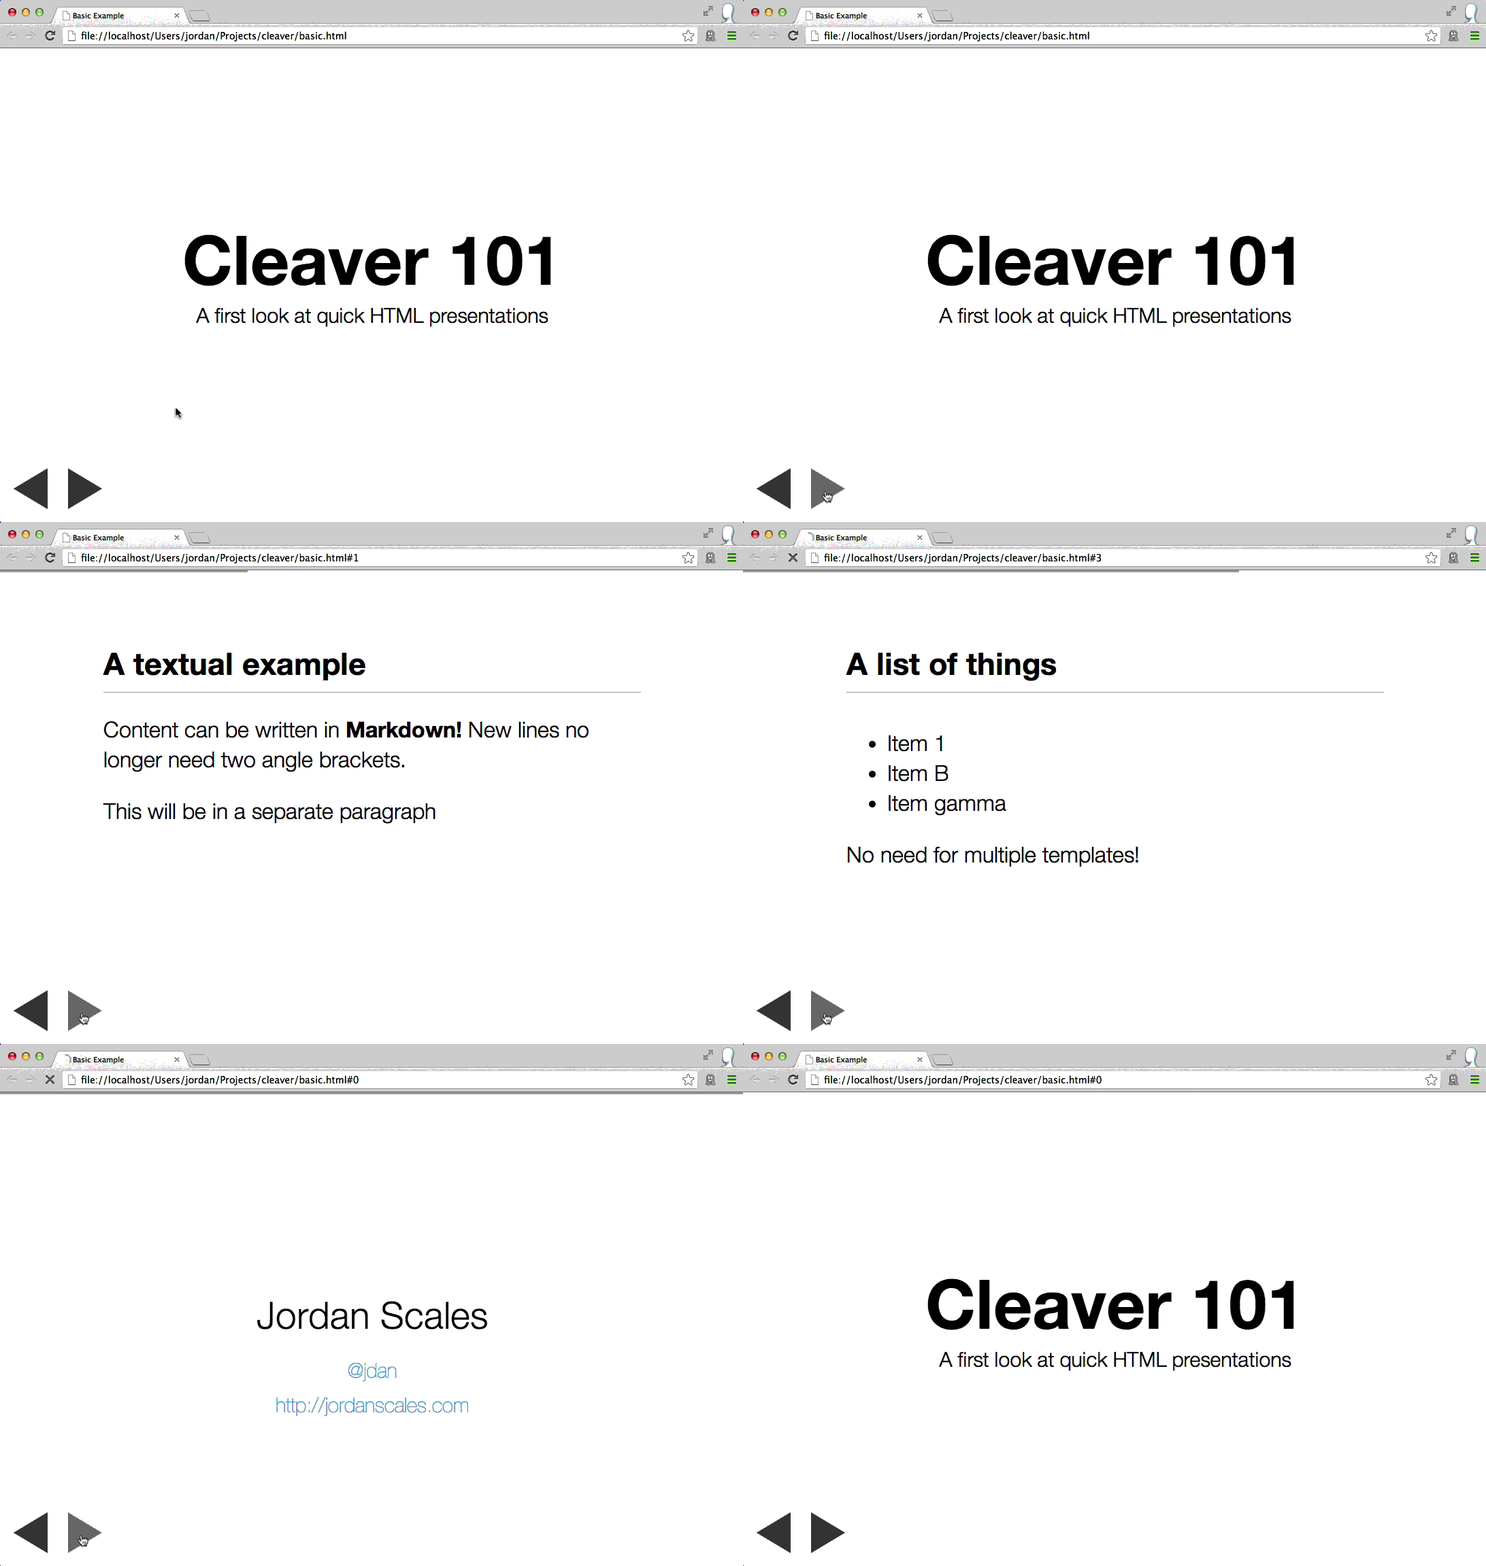
Cleaver turns this:
title: Basic Example
author:
  name: Jordan Scales
  twitter: jdan
  url: http://jordanscales.com
output: basic.html
controls: true

--

# Cleaver 101
## A first look at quick HTML presentations

--

### A textual example

Content can be written in **Markdown!** New lines no longer need two angle brackets.

This will be in a separate paragraph

--

### A list of things

* Item 1
* Item B
* Item gamma

No need for multiple templates!
Into this:
Get it on NPM:
npm install -g cleaver
# To update: npm update -g cleaver
And run it like so:
cleaver path/to/something.mdYou can also watch for changes on a file and automatically recompile with:
cleaver watch path/to/something-changing.md

# Watching for changes on presentation.md. Ctrl-C to abort.
# Rebuilding: Thu Nov 07 2013 00:15:03 GMT-0500 (EST)
# Rebuilding: Thu Nov 07 2013 00:15:21 GMT-0500 (EST)
# Rebuilding: Thu Nov 07 2013 00:16:01 GMT-0500 (EST)
# Rebuilding: Thu Nov 07 2013 00:16:09 GMT-0500 (EST)
Use the --debug flag to display debug information:
$ cleaver --debug examples/basic.md
  cleaver loaded input document +0ms
  helper read /Users/jordan/Projects/cleaver/templates/layout.mustache +0ms
  helper read /Users/jordan/Projects/cleaver/templates/author.mustache +0ms
  helper read /Users/jordan/Projects/cleaver/templates/default.mustache +0ms
  cleaver loaded templates +3ms
  cleaver parsed metadata +4ms
  helper read /Users/jordan/Projects/cleaver/resources/default.css +13ms
  helper read /Users/jordan/Projects/cleaver/resources/github.css +0ms
  helper read /Users/jordan/Projects/cleaver/resources/script.js +0ms
  cleaver loaded static assets +9ms
  cleaver rendered slides +1ms
cleaver rendered presentation +1msCleaver is a one-stop shop for generating HTML presentations in record time. Using some spiced up markdown, you can produce good-looking, interactive presentations with a just a few lines of text.
Slides are written in Markdown,
and are separated by two dashes (--).
title: Basic Example
author:
  name: Jordan Scales
  twitter: jdan
  url: http://jordanscales.com
style: basic-style.css
output: basic.html
Cleaver supports several basic options that allow you to further customize the look and feel of your presentation, including author info, stylesheets, and custom templates.
See the documentation on options for more information.
Be sure to check out the wiki as well.
Check out the themes page on our wiki.
title: Theme Example
output: theme.html
theme: jdan/cleaver-retro
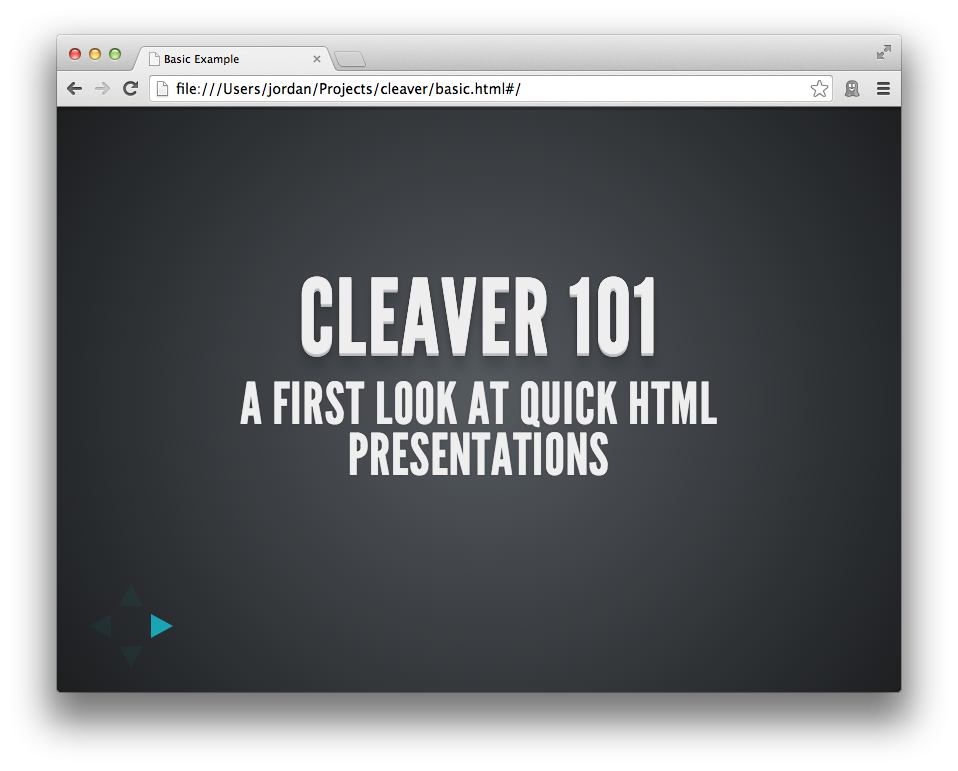
Cleaver has substantial theme support to give you more fine-grained control over your presentation, similar to options. Instead of manually specifying a stylesheet, template, layout, and others, you can specify a single theme containing each of these assets. More specifically, a theme may contain:
- style.css - styles for your presentation
- template.mustache - a template used to render the slides in your presentation
- layout.mustache - a template used to render the entire document of your presentation
- script.js - javascript to be included in your slideshow
A theme does not need to contain all of these files, only the ones present will be loaded into your slideshow.
- matmuchrapna/cleaver-ribbon – Shower implemented in cleaver.
- sudodoki/reveal-cleaver-theme – cleaver meets reveal.js.
Themes may be specified by one of the following options:
- An absolute or relative path to a directory
- A URL to a directory
- A github repository in the form of username/reponame
By default, style.css and script.js will be appended to the default stylesheets and javascripts included in cleaver presentations. If you wish to completely override these defaults, you must include another file in your theme - options.json - corresponding to the following:
{
  "override": true
}
Template files will automatically override the default templates.
For more information on themes, check out our documentation.
Cleaver slides are rendered using the following template:
And produce the following markup:
+-------------------------------+
| #slide-N                      |
|     +-------------------+     |
|     | .slide-content    |     |
|     |                   |     |
|     |                   |     |
|     |                   |     |
|     |                   |     |
|     +-------------------+     |
|                               |
|                               |
| (navigation)                  |
+-------------------------------+
#slide-N (for example, #slide-3) allows you to identify a particular full-bleed slide by its position in the slideshow. It extends to the bounds of the page.
.slide-content is a smaller window which holds the actual content of the slide.
A class list can be placed after each "slice" (denoted --) to help you
style individual slides without worrying about their index.
-- bg

This slide will have a class "bg" associated with it

-- bg blink

This one, too, but it will also have the class "blink"
# Cleaver 101
## A first look at quick HTML presentations
h1 and h2 elements (prefaced with # and ## respectively), will automatically include padding to render a title slide.
### A list of things

* Item 1
* Item B
* Item gamma

No need for multiple templates!
Since slides are written in Markdown, you can include things like lists, images, and arbitrary HTML.
h3 tags (prefaced ###) are automatically given a bottom border to
represent a slide title.
Cleaver supports keyboard navigation for switching between slides. Alternatively, click the control buttons located below the presentation.
To navigate the slideshow:
- forward: K, L, UP, RIGHT, PgDn, and Space
- reverse: H, J, LEFT, DOWN, PgUp, and Backspace
The toggle fullscreen mode, press the ENTER key.
- Fork it
- Clone it
- Install dependencies (
npm install) - Checkout a release branch (
git checkout -b feature/cool-wordart) - Make changes, commit, and push (
npm testand make sure it passes) - Open a pull request!
With <3,
@jdan
--


